Crystal Snowflake Design
Winter gradually comes into its own, and we continue to acquaint you with new items from the winter collection of sliders. The hero of this review will be the slider 3d Glass Effect 3d183.
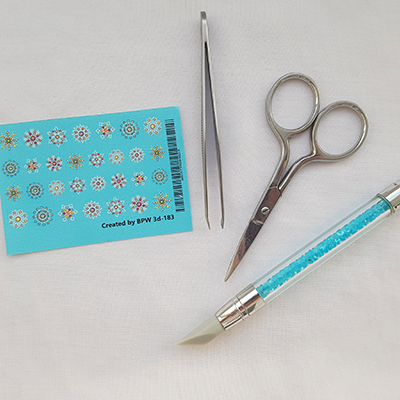
To complete the design we need:
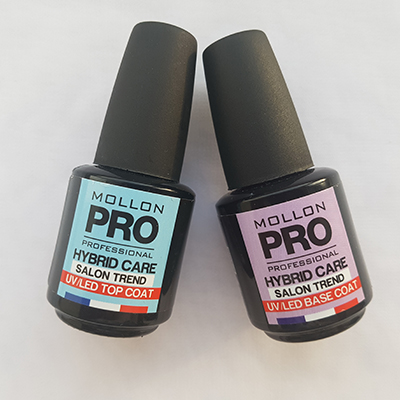
- Base and top for gel polish;
- Color gel polish;
- Slider design;
- Tweezers;
- Scissors;
- Silicone brush;
- Paper napkin;
- Water;
- Gel polish lamp;
- Liquid to remove the sticky layer
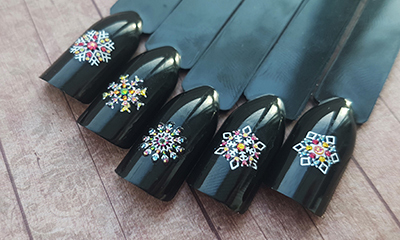
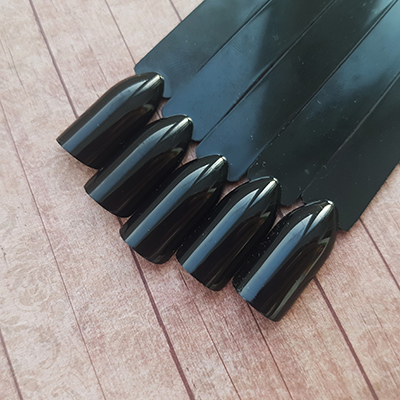
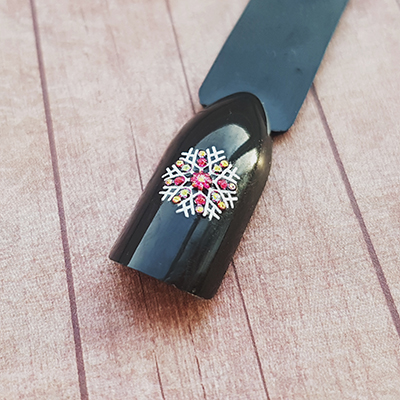
White snowflakes look perfect on any dark background. Today we chose black for our design.
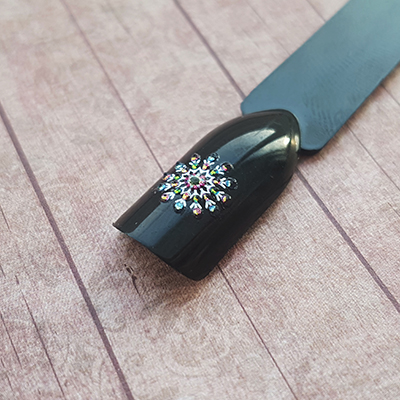
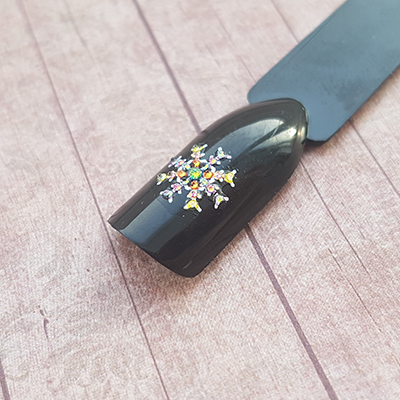
As a decoration, we take the slider design from BPW Glass Effect (number 3d-183).
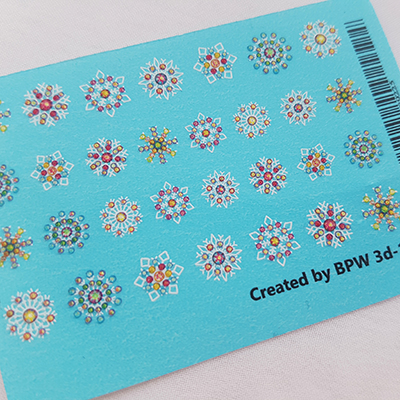
In operation, this slider resembles the already familiar to us design with the effect of 3D. In fact, this is the same effect of volume, but instead of matte paint there is a transparent material here that visually resembles lenses. And that means that we will work with this slider in the same way as with 3D design.
With bulk sliders, we always recommend working on the “wet base” method. So the main function of fixing will go to the layer under the design, and the top will be only an auxiliary one. If we want to strengthen the slider with the upper layer, then we risk destroying the volume, which is so important here.
- Cut a snowflake and drop it into the water to separate it from the substrate.
- We take the design out of the water and put it on a dry paper napkin to soak up the water.
- Apply a thin layer on the color coating.
- Separate the design from the substrate and put it on the base.
- Silicone brush align the design.
- Put in the lamp and dry for a minute.
- We take the top and well press the brush.
- Carefully apply the top to the entire surface, paying special attention to the design, while trying not to smooth the volume with the material.
- We are waiting for a few seconds to top leveled on the surface and dry.
- Remove the sticky layer.
Here we have such an interesting winter design.
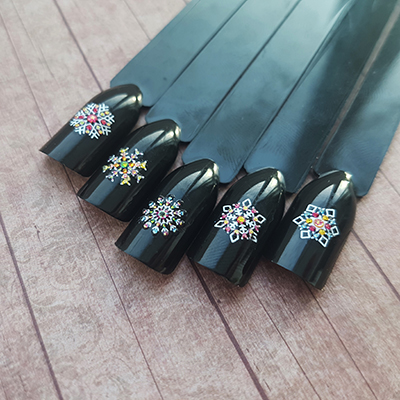
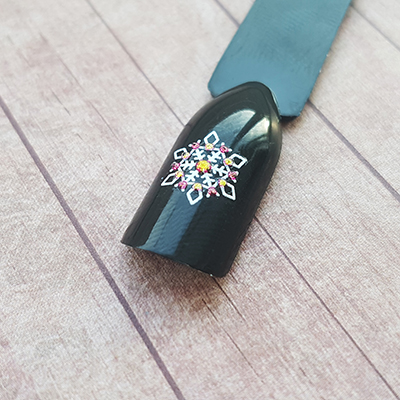
Follow us on Instagram and Facebook so as not to miss the latest news.
- Комментарии

