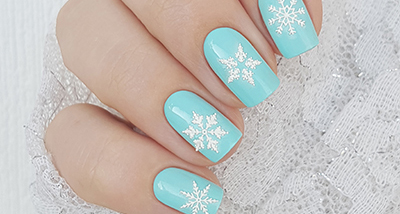
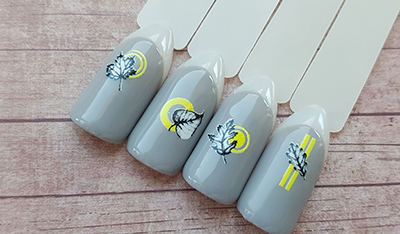
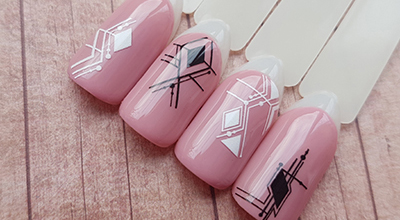
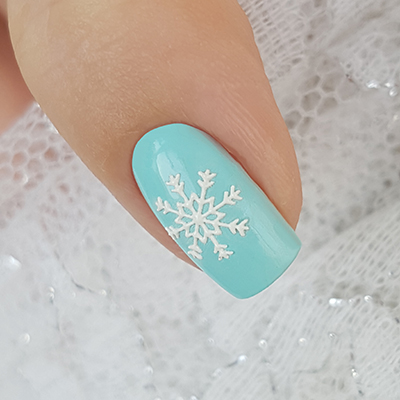
Manicure with volume snowflakes
What design can most often be found on the nails in the winter? Of course with snowflakes! And if you doubt that you can carefully draw a snowflake on the nails, we suggest using the sliders.
To perform a manicure with snowflakes, we need:
- Base and top for gel polish;
- Color gel polish;
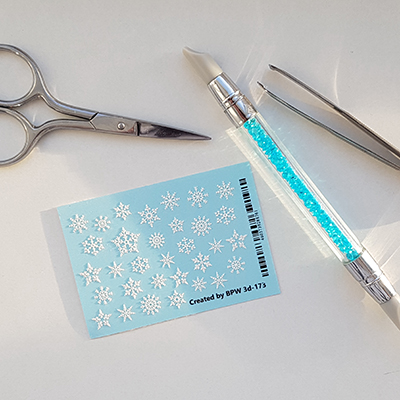
- Scissors;
- Slider design;
- Tweezers;
- Silicone brush;
- Water;
- Paper napkin;
- Gel polish lamp;
- Liquid to remove the sticky layer.
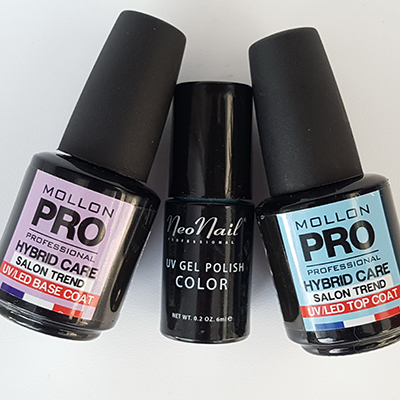
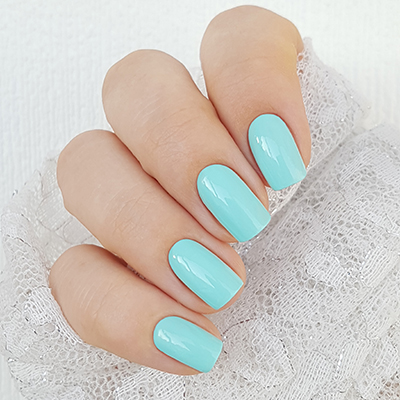
To begin with, we apply the base and colored gel polish. The background can be any color. We chose NeoNail's sky blue gel polish (shade 3648). Apply it in two layers.
And for design we take a 3D slider with snowflakes from BPW.Style (number 3d-173).
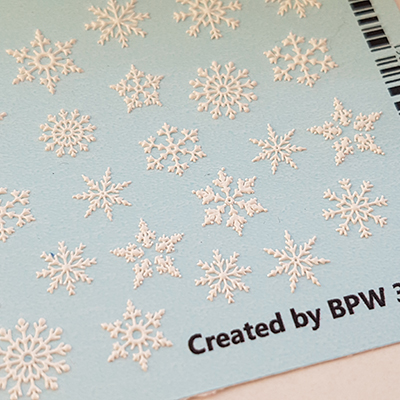
To fix the slider design, put it on a wet base.
First, cut out the appropriate snowflakes.
Dip them in the water.
Holding them in the water for a few seconds, put them on a paper napkin to remove the water.
Apply a thin layer on the color coating.
Put the design on the undrawn base.
Using a silicone brush, we smooth out the design wrap and remove air bubbles from under the design.
Making sure that the slider fits snugly to the nail plate, place the hand in the lamp for one minute.
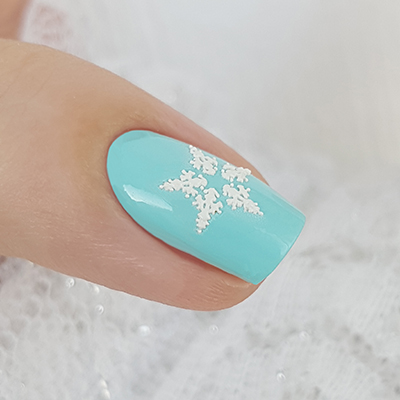
After the design dries, it must be secured top. For this, it is better to take a top suitable for working with a slider. We recommend the top from MollonPRO. Well wring out the brush and cover the manicure with a thin layer, sealing the design, at the same time ensuring that the material does not level the volume of the snowflakes.
We are waiting for a few seconds to top aligned on the nail plate and place in the lamp for a minute.
Remove the sticky layer.
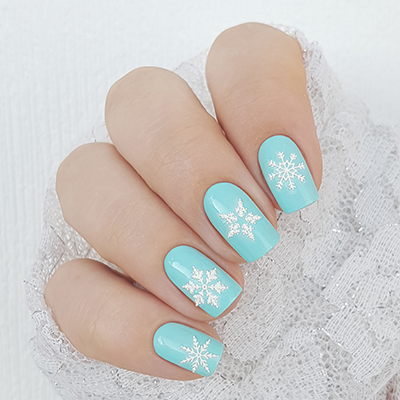
Here we have such a nice manicure with snowflakes.
Follow us on Instagram and Facebook so as not to miss the latest news.
- Комментарии

