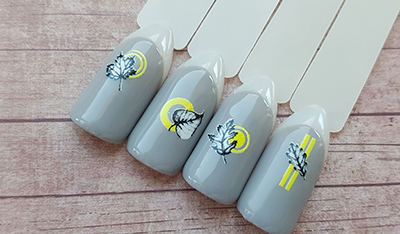
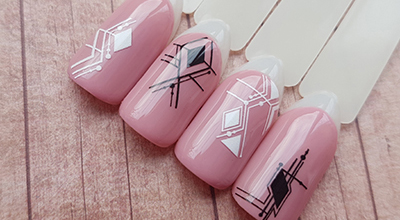
Snow manicure using sliders
What nail design is most often found in the winter? Of course with all sorts of snowflakes! We offer you an interesting and simple version of a winter manicure using sliders.
To perform this manicure, we need:
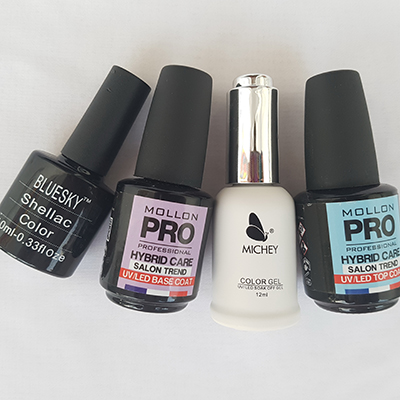
- Base and top for gel polish;
- Poor base for pinning a slider design;
- Color gel polish;
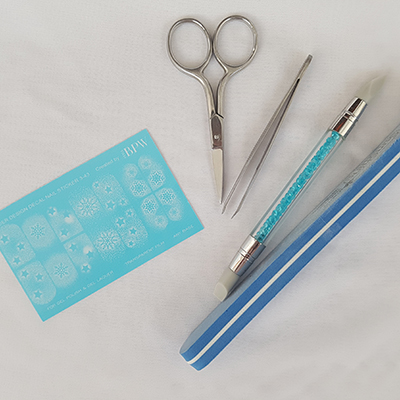
- Slider design;
- Scissors;
- Tweezers;
- Silicone brush;
- Water;
- Paper napkin;
- Liquid to remove the sticky layer;
- Lamp for the polymerization of gel polish.
To begin with, strengthen and align the nail plate.

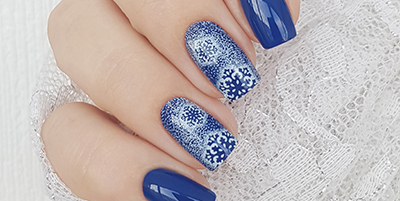
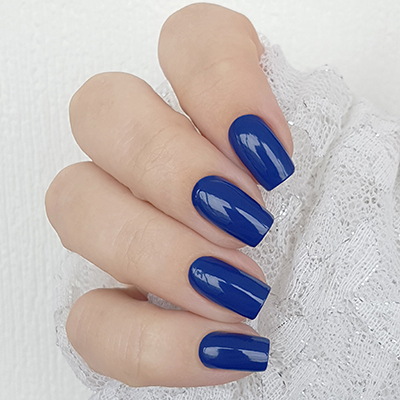
We chose Bluesky gel polish (number 079) as a base color.
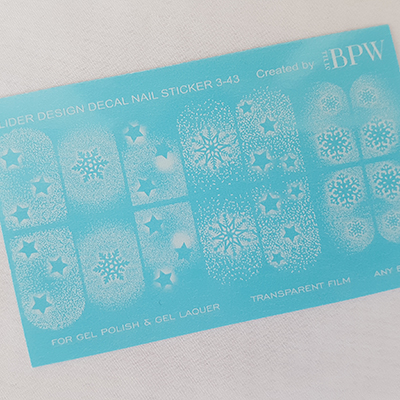
And as a design we take a slider design from BPW (number 3-43).
To consolidate the slider design, we use the "wet base" method.
To begin with, we cut out the necessary fragments of the design and drop them into the water to separate it from the substrate.
Apply a thin layer of non-thick base on the color coating.
Wiping the slider on the paper, separate it from the substrate and carefully lay it on the dry base. Here you need to work quickly and carefully, as the film begins to "melt", and with inaccurate movements you can draw a picture.
Align the film on the nail plate, press the corners of the design and dry in the lamp for one minute.
We take the buff for nail polishing and carefully remove the excess length of the slider from the end of the nail. Make sure that the dust does not get on the sticky layer of the coating.
We cover the nails with another base layer, sealing the design. We dry.
Cover the manicure with a top, dry and remove the sticky layer.
Here we have such a snow manicure.
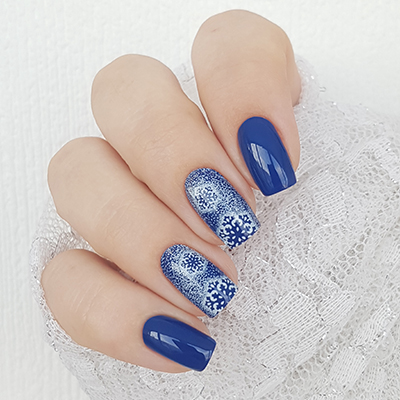
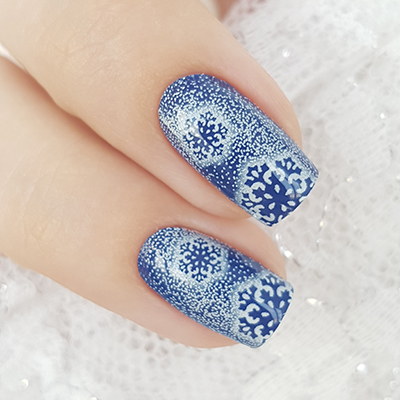
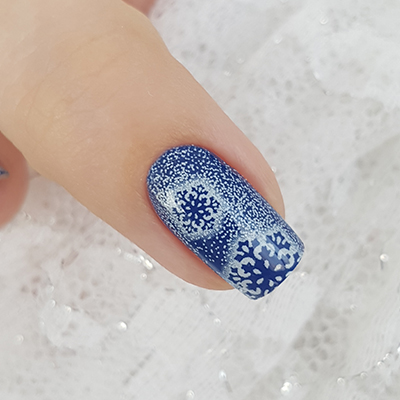
Here we have such a fun design with letteringFollow us on Instagram and Facebook so as not to miss the latest news.
- Комментарии

