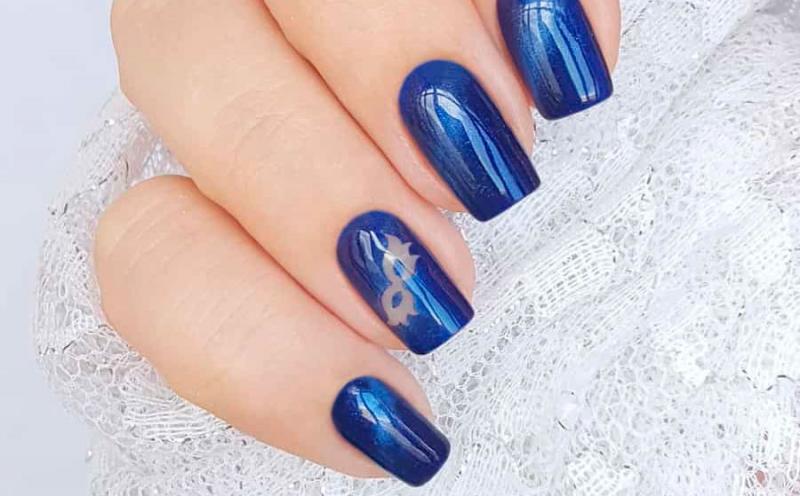
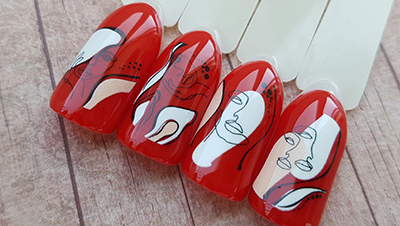
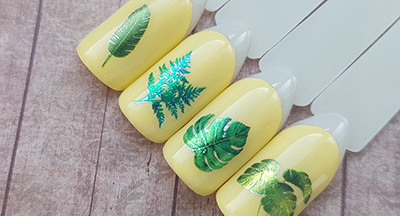
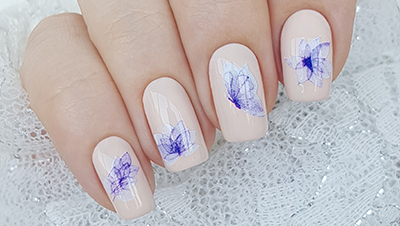
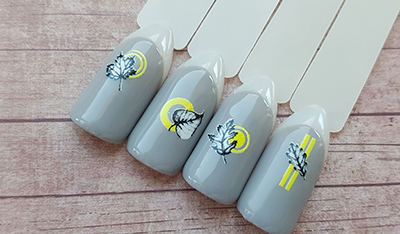
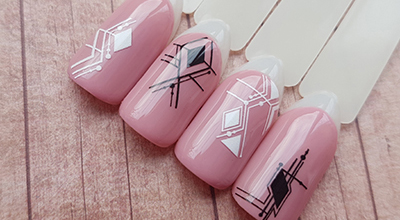
Manicure with nail stencils DEEP DESIGN
To perform a manicure you will need the following materials:
• Base coat for gel polish;
• Nail stencils;
• Orange stick;
• Color gel polish;
• Nail brush;
• Top coat for gel polish.
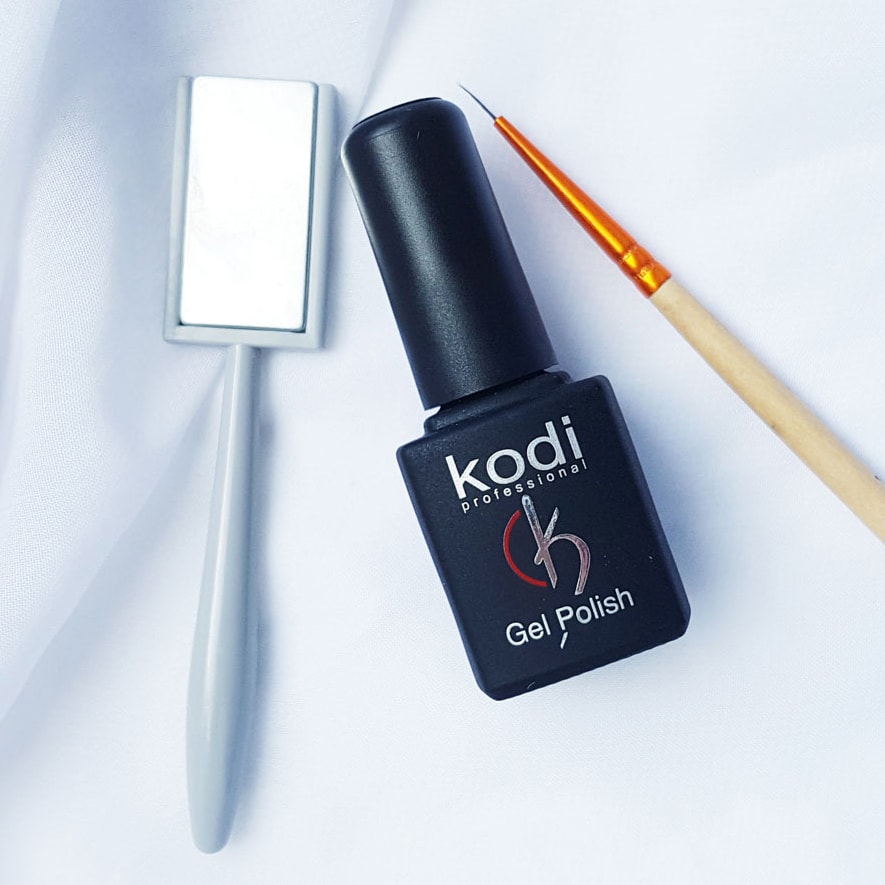
In this master class, we use a gel polish with the effect of a cat's eye, so you'll need a special magnet:
So let's go:
Step 1. Cover the nails with the base, remove the sticky layer. To stencil easier to grapple with nails, you can remove the surface gloss. But our stencil perfectly lays down also on a glossy layer of a covering.
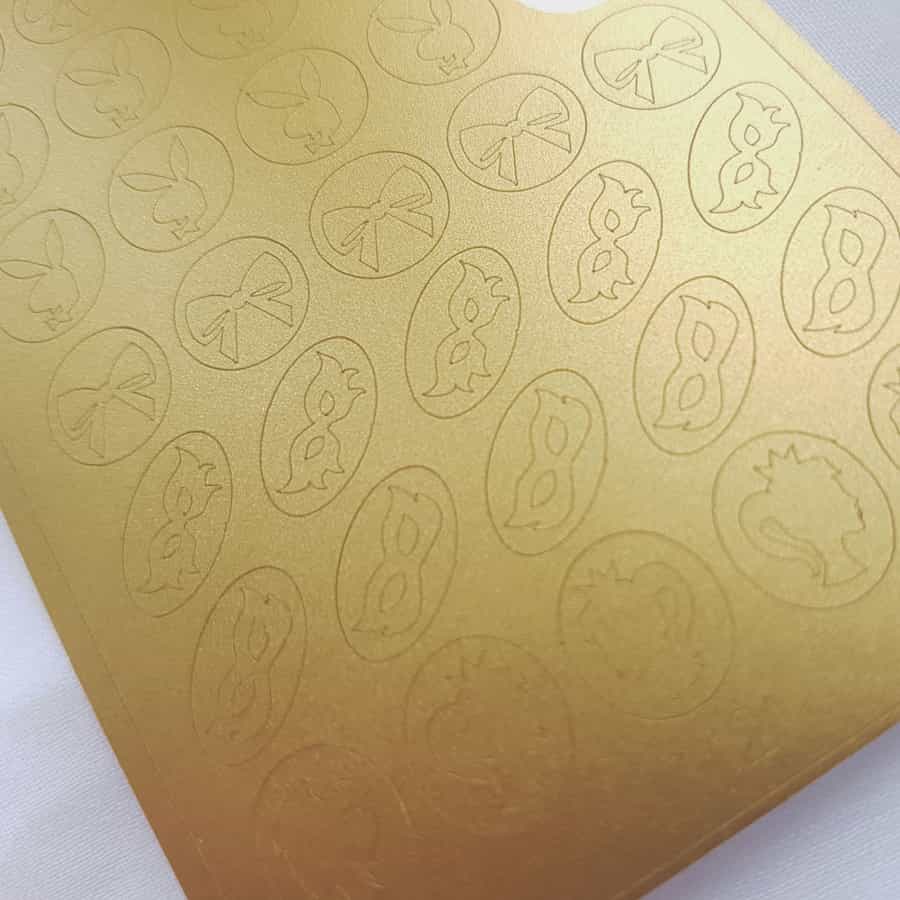
Step 2. On the nail, where the design will be, we paste the DEEP DESIGN stencils (here the stancil td121 is used). We smooth the film over the nail. It is important to check that the stencil lay without folds.
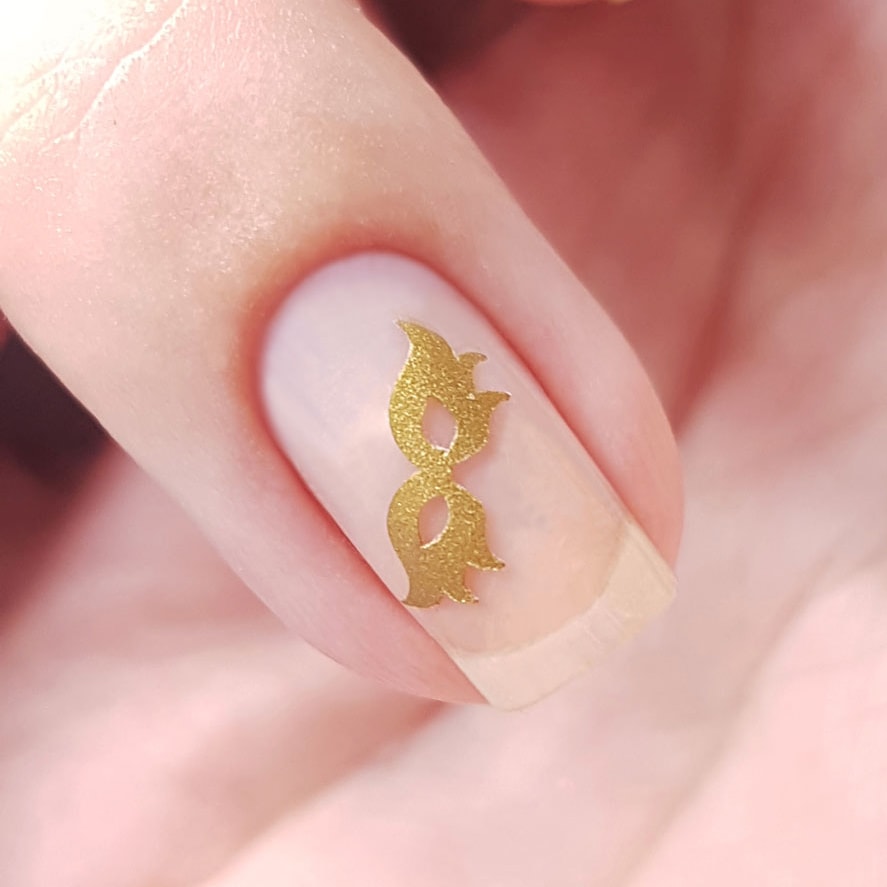
Step 3. Apply the gel-polish to the stencil. It is more convenient to use a thin brush. Try not to cover the gel-polish itself with a stencil, because when removing it there is a risk of damaging the coating.
Also, when working with a stencil, pay attention to the density of the gel polish which you work with. It is desirable to choose a medium-density gel polish that gives a good coating of 1-2 layers. In our master class we apply gel polish in 2 layers, the first layer is dried without a magnet.
Step 4. After covering all the nails with a second layer, use a magnet and dry it in a lamp.
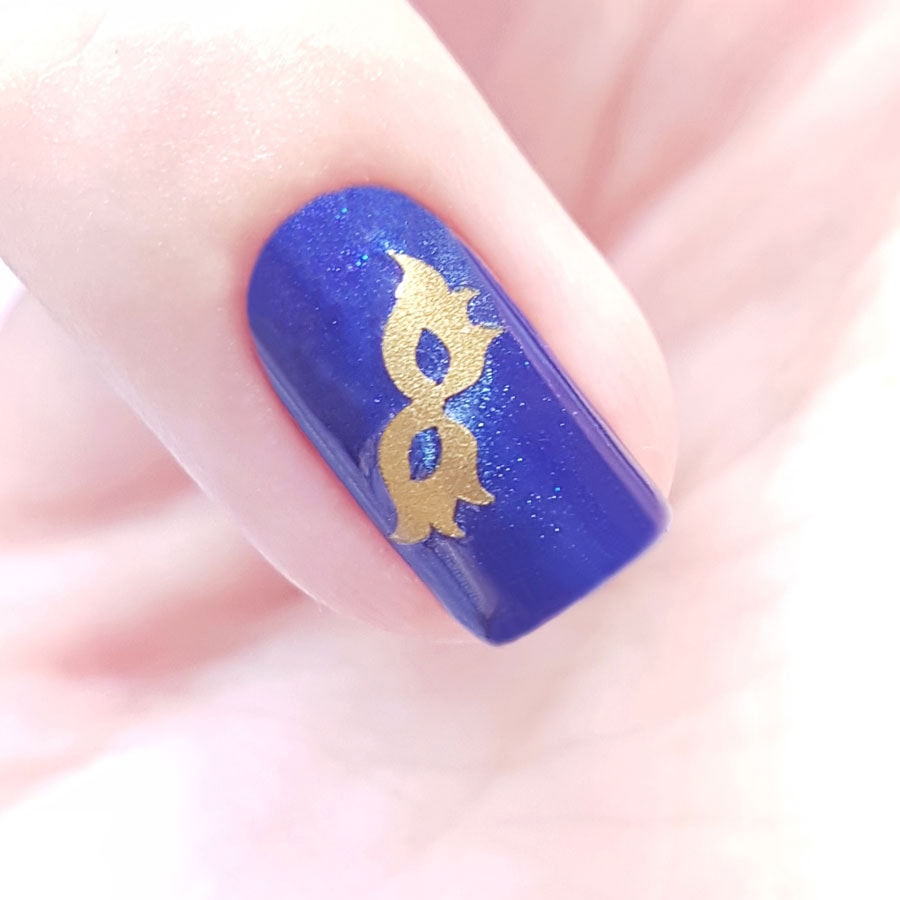
Step 5. After drying, remove the stencil from the nail. Use a pair of tweezers, an orange stick or a pusher.
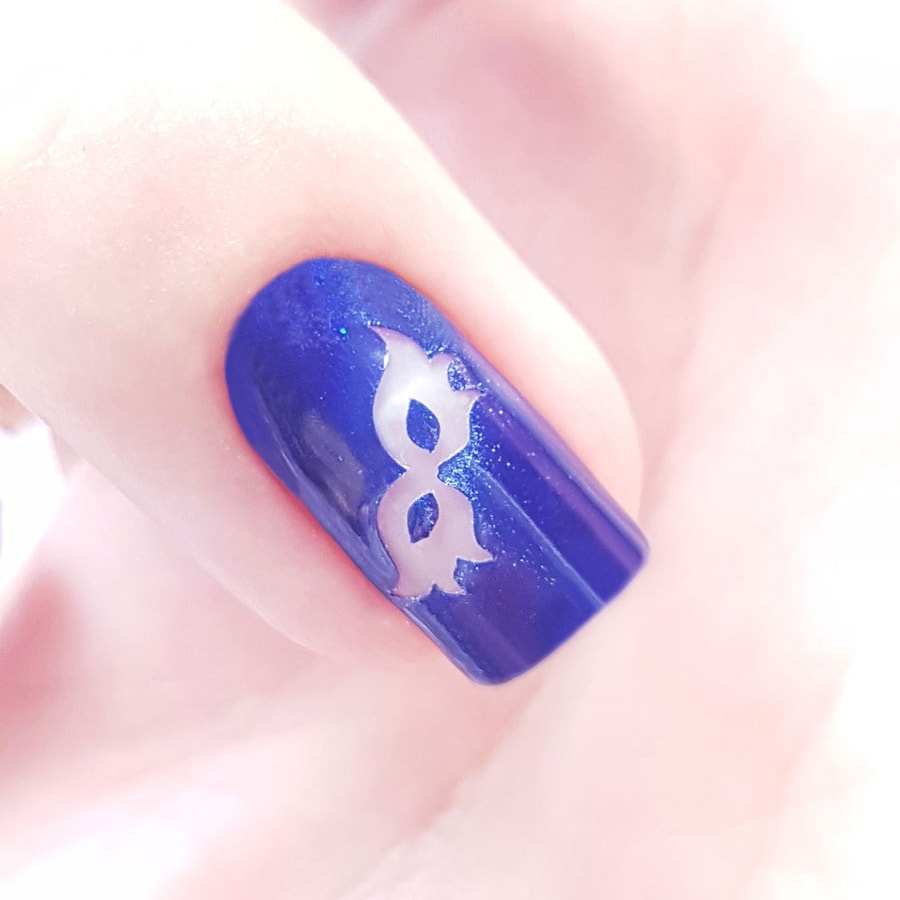
Step 6. Next, we apply a top coat on all the nails, dry it in the lamp, remove the sticky layer. And enjoy the holiday manicure!
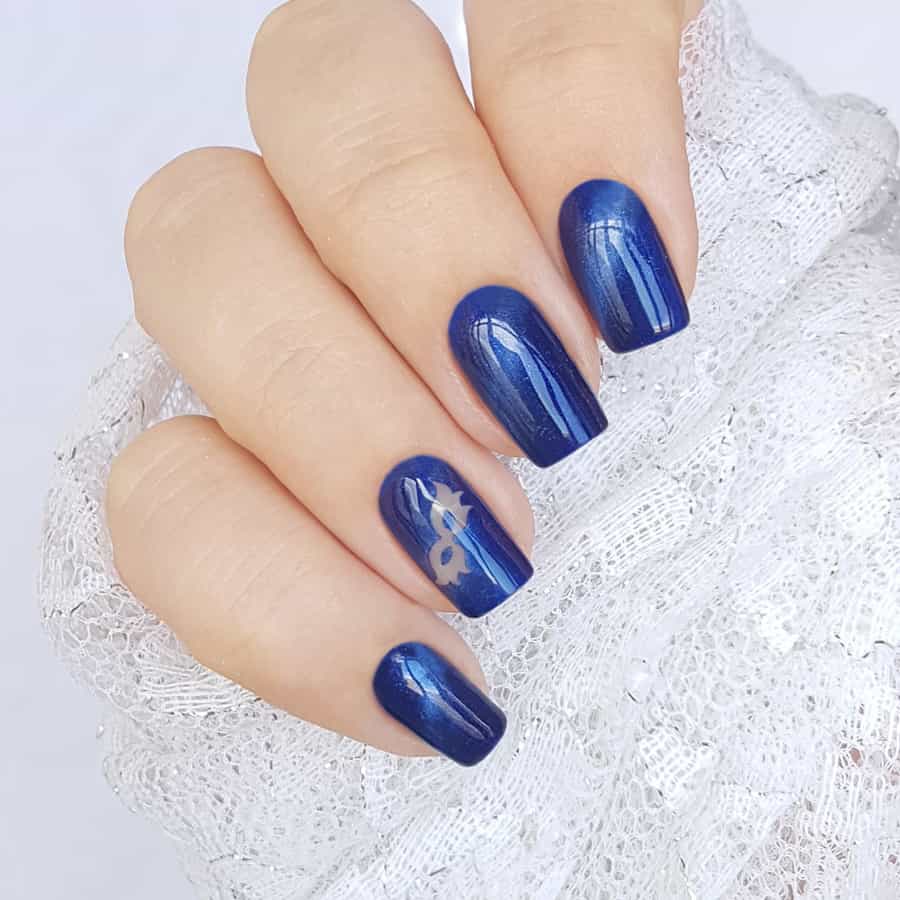
For the implementation of such a manicure you will need the following materials from our web shop:
4. Nail brush with thin hair Ropubloff
Follow us on Instagram and Facebook so as not to miss the latest news.
- Комментарии

