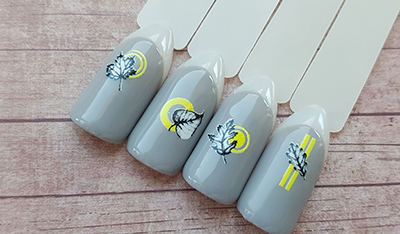
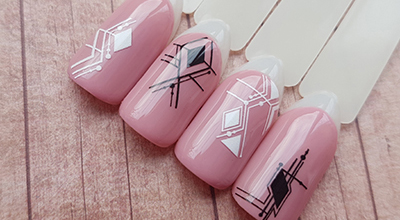
Manicure with metallic stickers
These stickers are quite simple to use. They are already equipped with a sticky layer. In this case, I fixed the stickers on the base layer, here it is required to level the nail plate, in extreme case, you may simply cover it with two base layers to ensure that all the nail parts have coating when removing the adhesiveness. In case color coating, this is not necessary.
Let’s do it step by step:
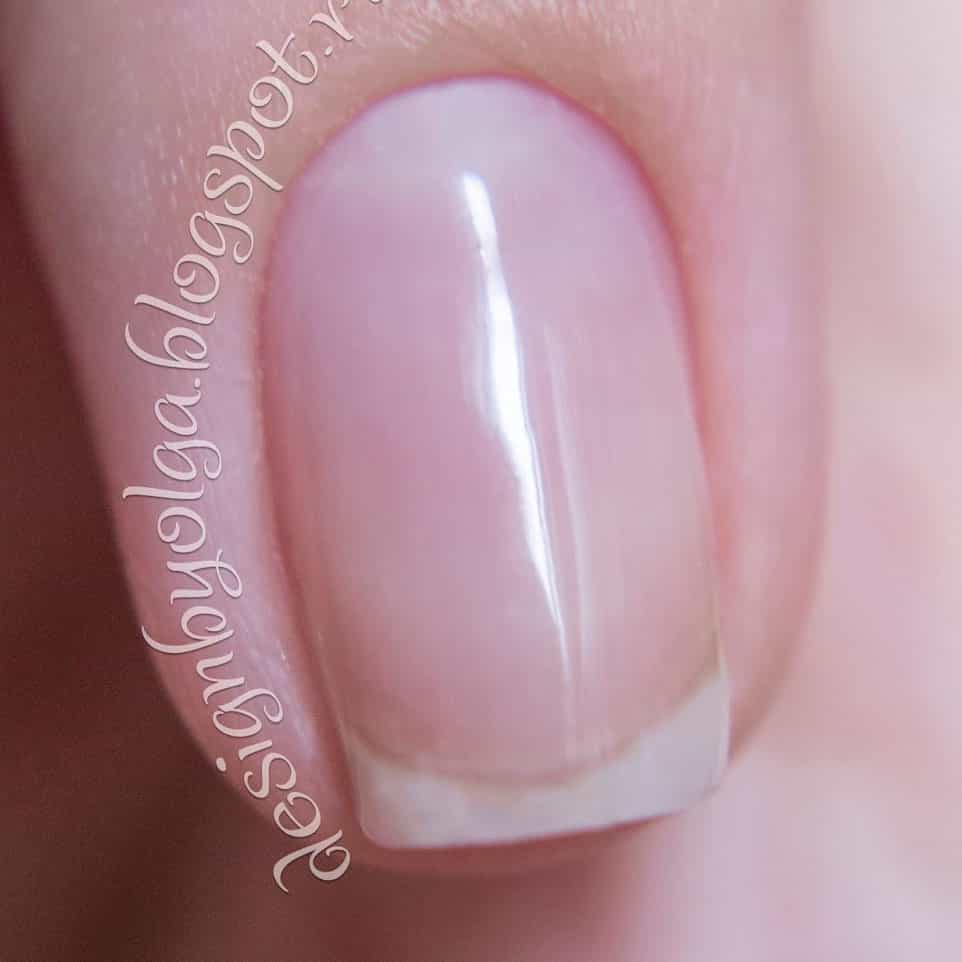
Prepare the nail for the coating. Apply the base layer. In my case, the first layer is thin, the second is thick and leveling.
Remove the sticky layer. This is important, otherwise the sticker will not fit tightly to the nail, which in the future will lead to the detachment of the sticker.
Next, you can buff the nails a little bit, that’s what I did as I always do. Someone does not do it, I know for sure that the result is also good.
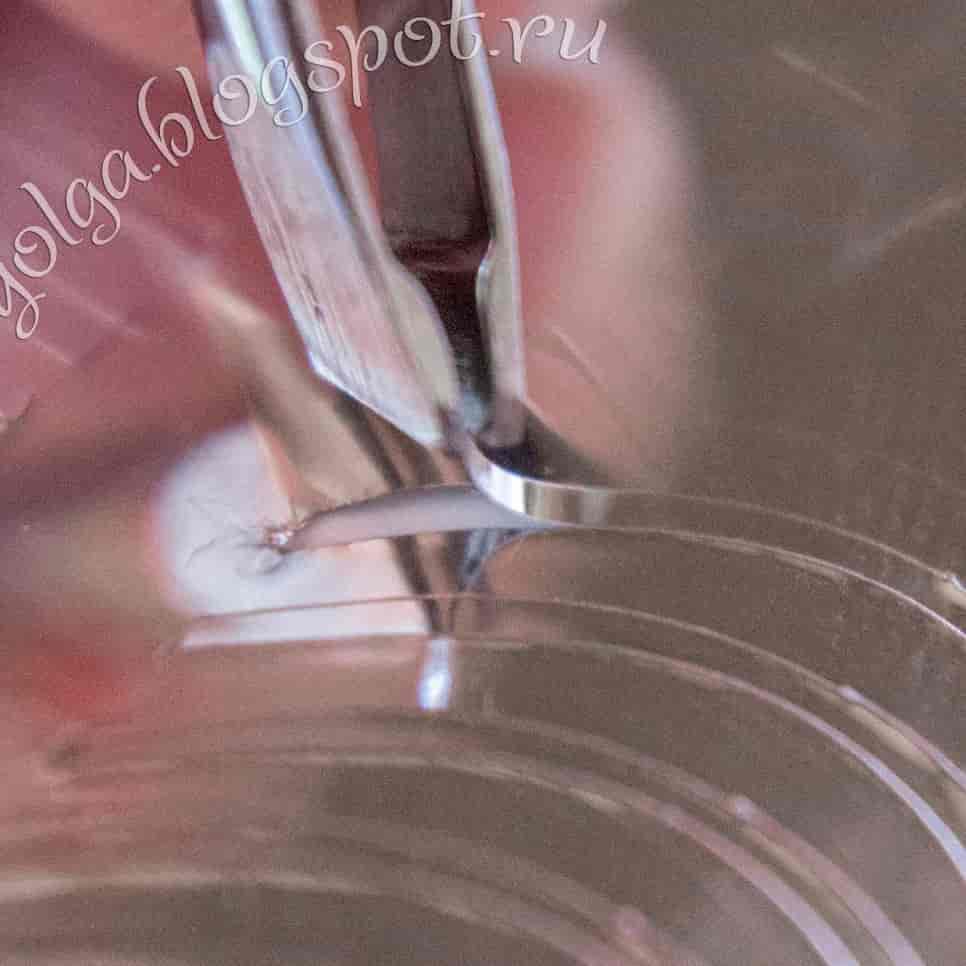
Get hold of the selected sticker (in my case, “Black Panther” mz105) with something sharp. Do not touch the adhesive side with your hands, in order not to damage it.
Place the sticker on the nail, cut the excess so that the edges of the sticker are tightly sealed at the end of the manicure. By using a pusher or an orange stick, carefully smooth the sticker, paying special attention to the edges.
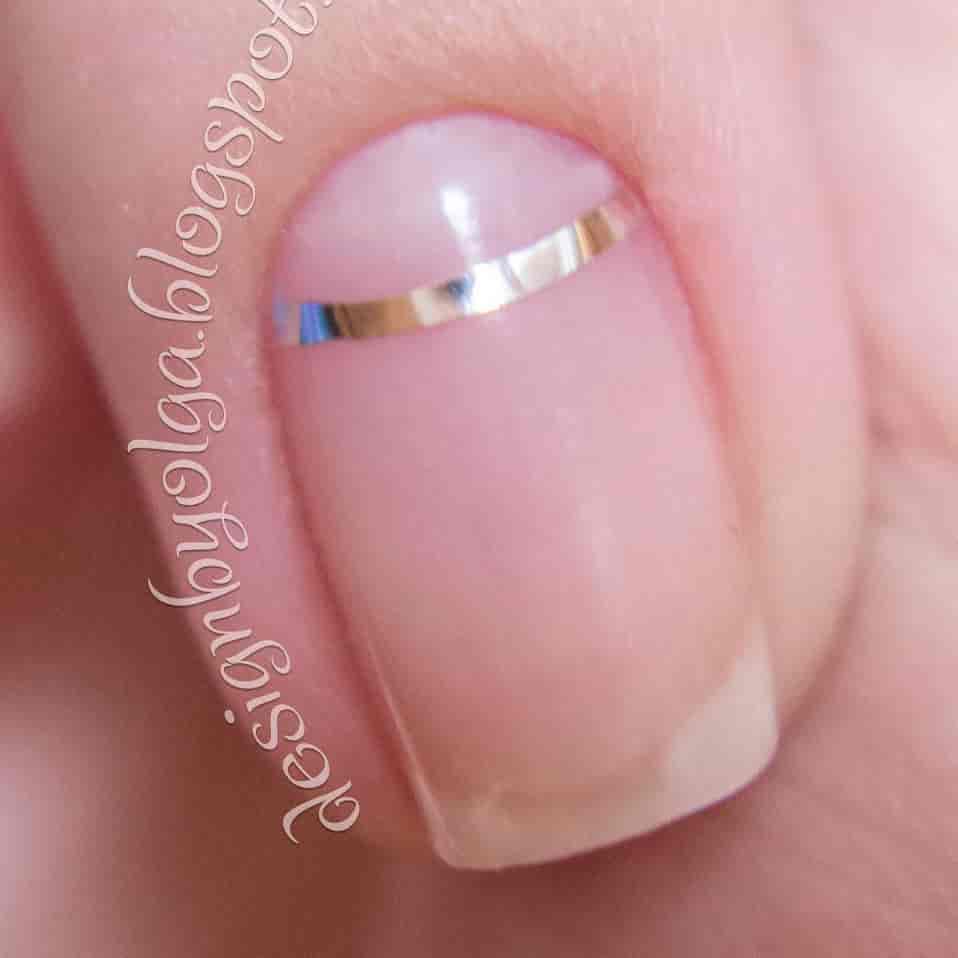
By using a thin brush, apply gel polish to the stickerin edge-to-edge manner. Apply gel polish to the rest of the nail in a standard way.
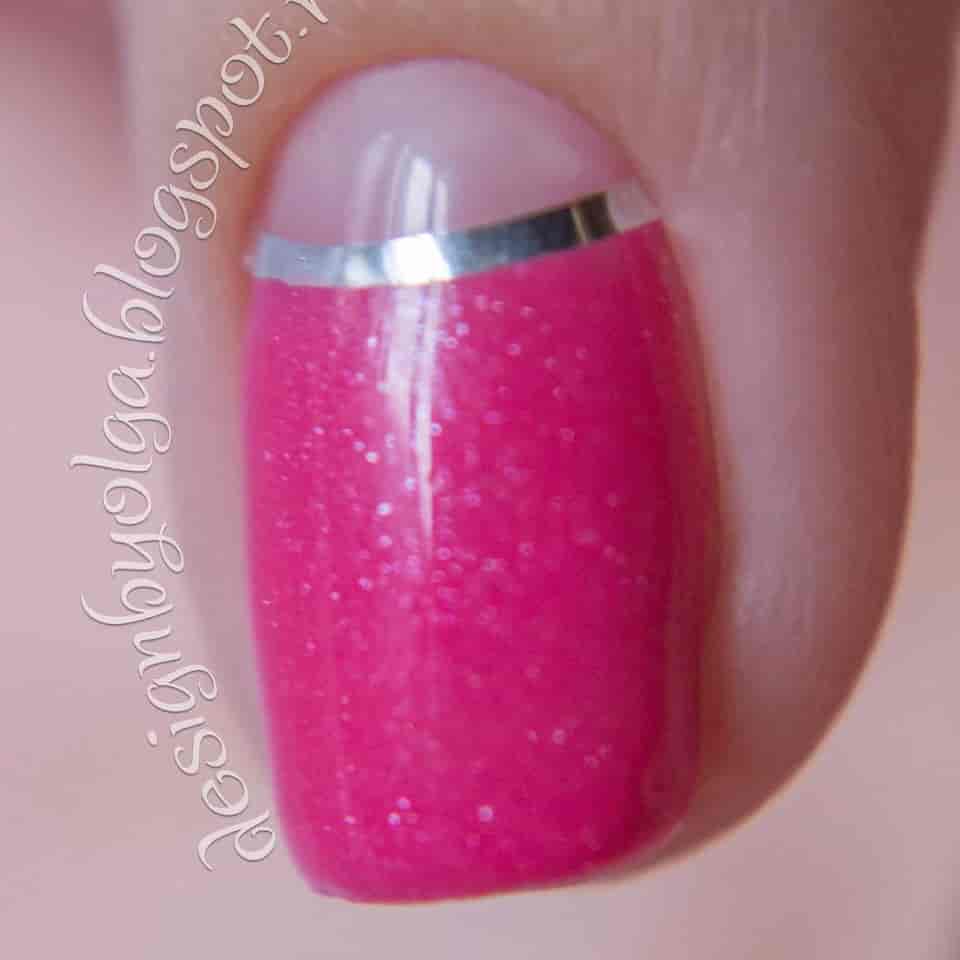
Next, I applied a dense base layer and a thick top layer on the top, so that the sticker is fixed on the nail until its removal.
By the way, the metallic sticker does not lose its luster under the base or top
Here's my manicure.
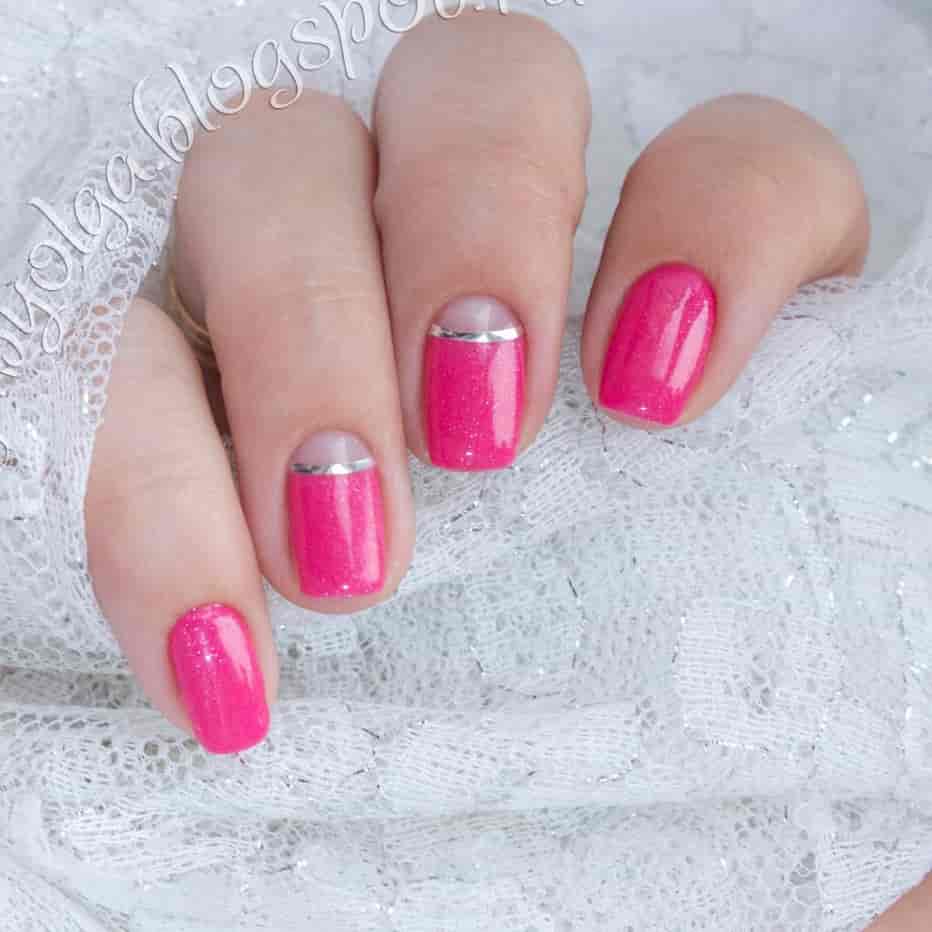
A full range of metalized stickers is available at catalogue Metallic mirror stickers
Follow us on Instagram and Facebook so as not to miss the latest news.
- Комментарии

