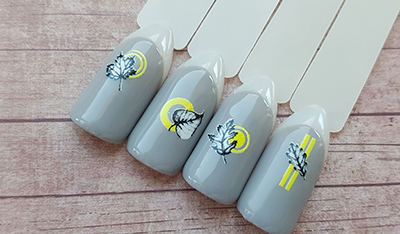
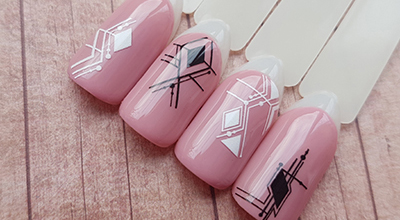
Manicure with 3D nail decals
3D sliders with volumetric elements have won great popularity among fans of the original manicure. But often manicure masters are faced with the question of how to properly use such sliders?
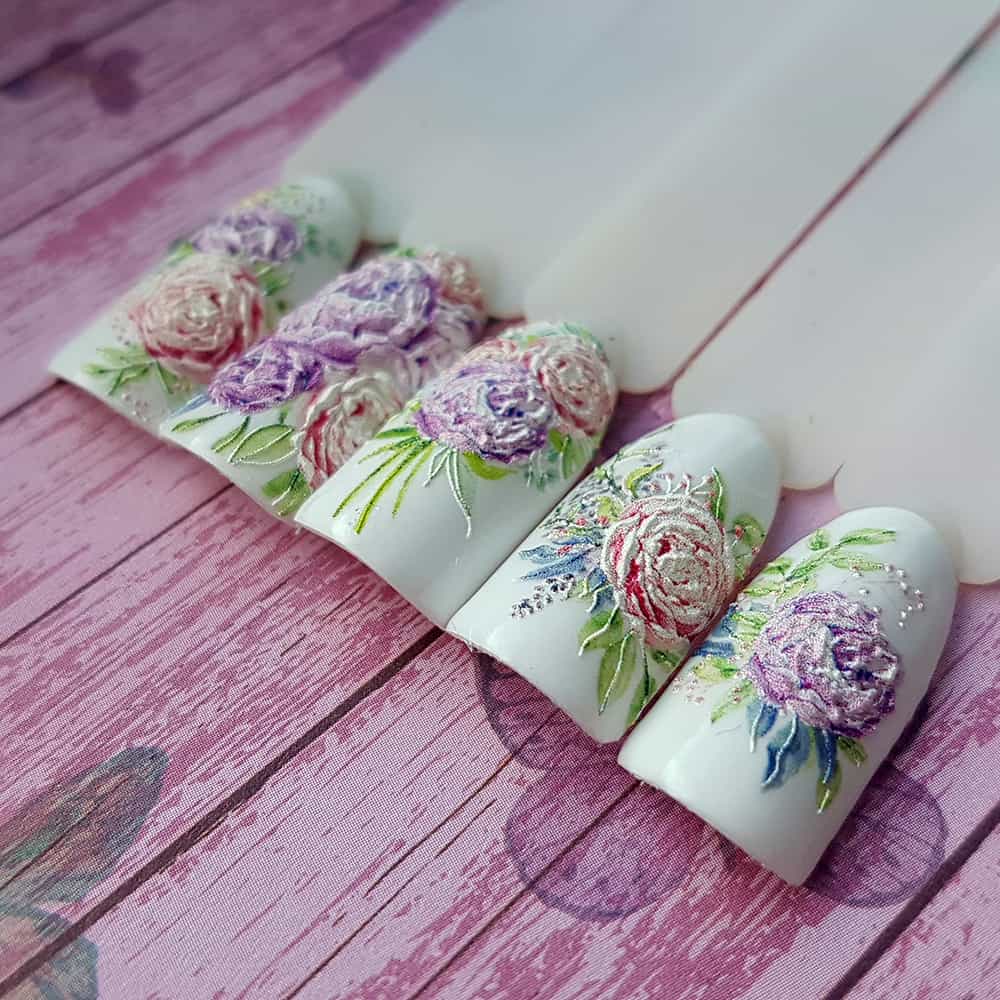
In this article we will consider the use of a 3D slider with a solid pattern on the entire nail
For this design we will need:
- Base and top for slider-design;
- White gel-varnish for the background;
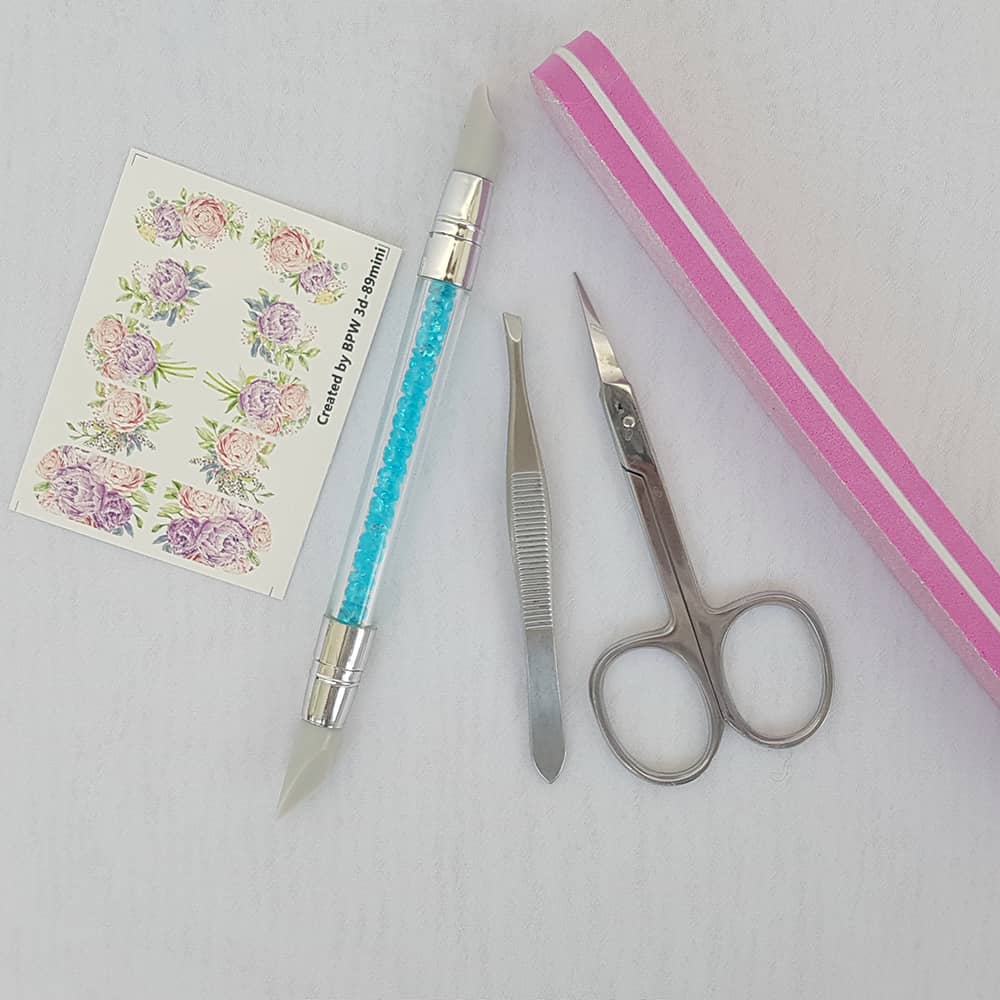
- Volumetric slider design;
- Scissors;
- Tweezers;
- Water;
- The buff;
- Napkin;
- Lamp for polymerization of gel-polish;
- Liquid for removing the sticky layer
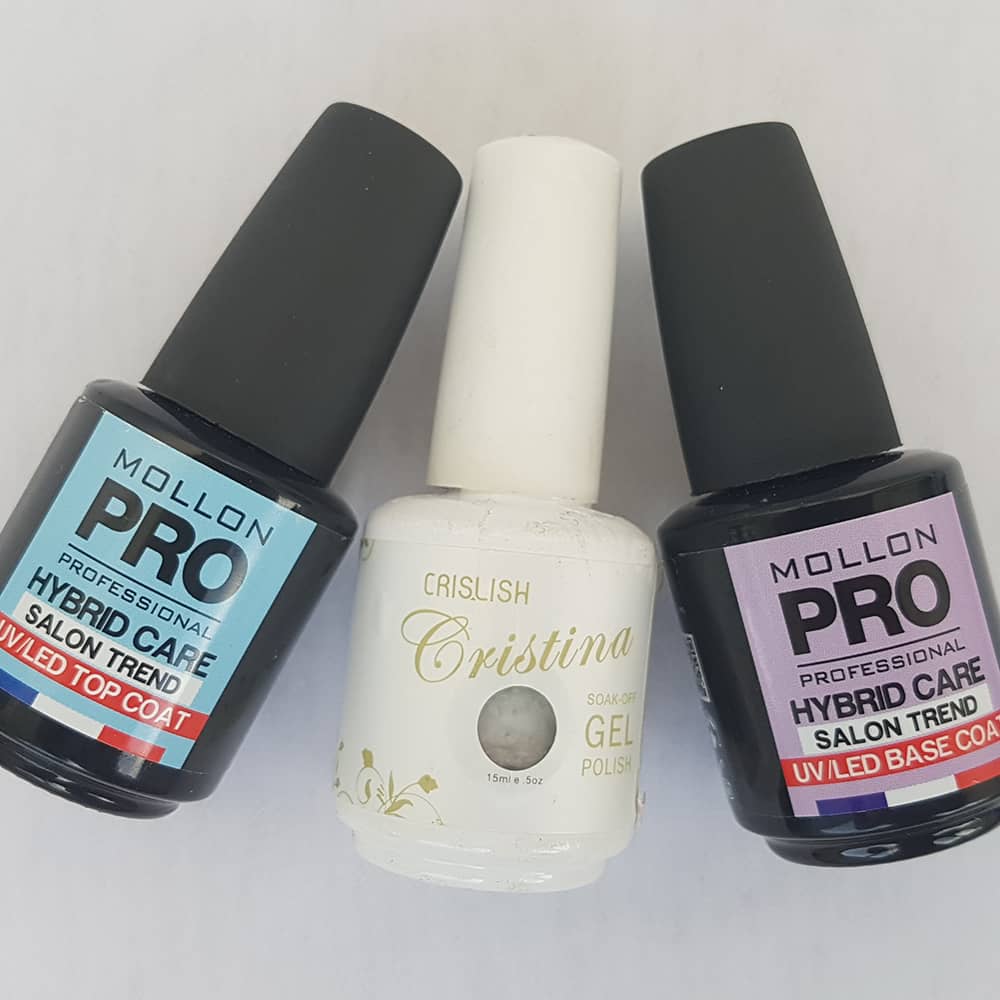
As a background, we chose the white gel-lacquer Cristina (shade 1323).
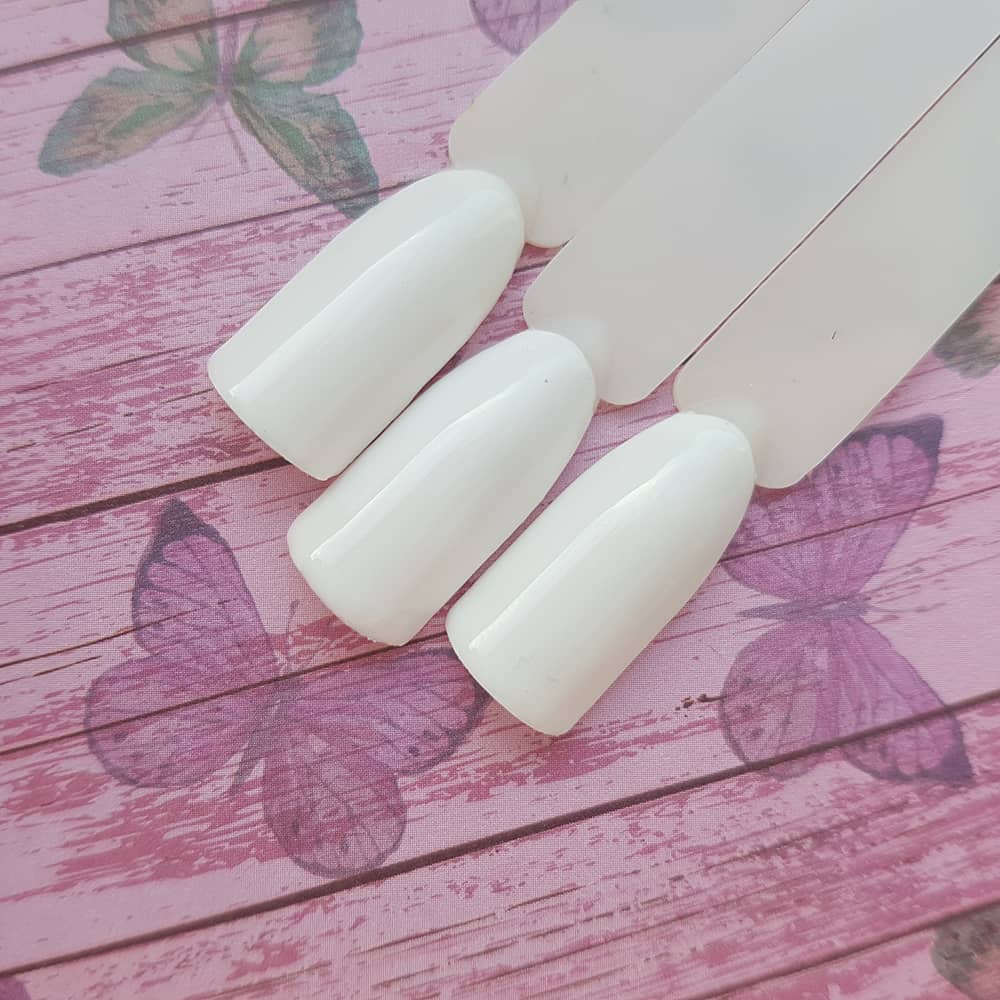
Today we will use 3D-design from BPW (number 3D-89 mini).
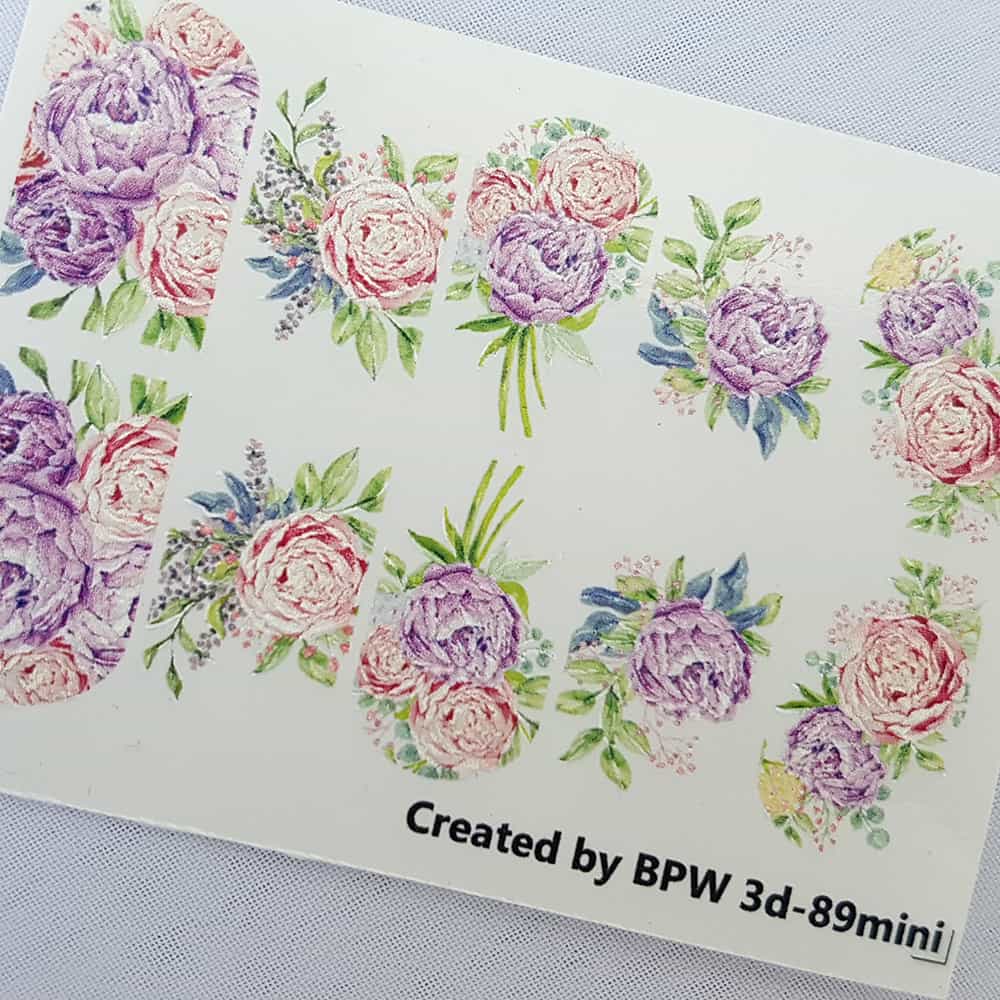
To fix this type of design, we recommend the method "on a wet base", because it's about the design of the entire nail plate.
First, we apply a thin base layer (we used the MollonPRO base). Cut out the desired design, separate it from the substrate (after soaking through a paper napkin, as gel-lacquer does not tolerate water) and put it on an undried base. Carefully aligning the design to the base, removing all air bubbles and making sure that all edges fit tightly to the base.
After the base with the design has dried, remove the extra length of the slider from the end of the nail with the help of a buff. It is very important that the buff is clean and free of dust. Do not need to use a primer.
Further carefully wrung out from the top we cover the slider-design, avoiding the ingress of a large amount of material, otherwise the effect of volume may be lost. If necessary, two layers can be applied. Be sure to seal the ends and carefully follow the edges of the design of the side rollers: they also need to be well sealed.
Remove the sticky layer.
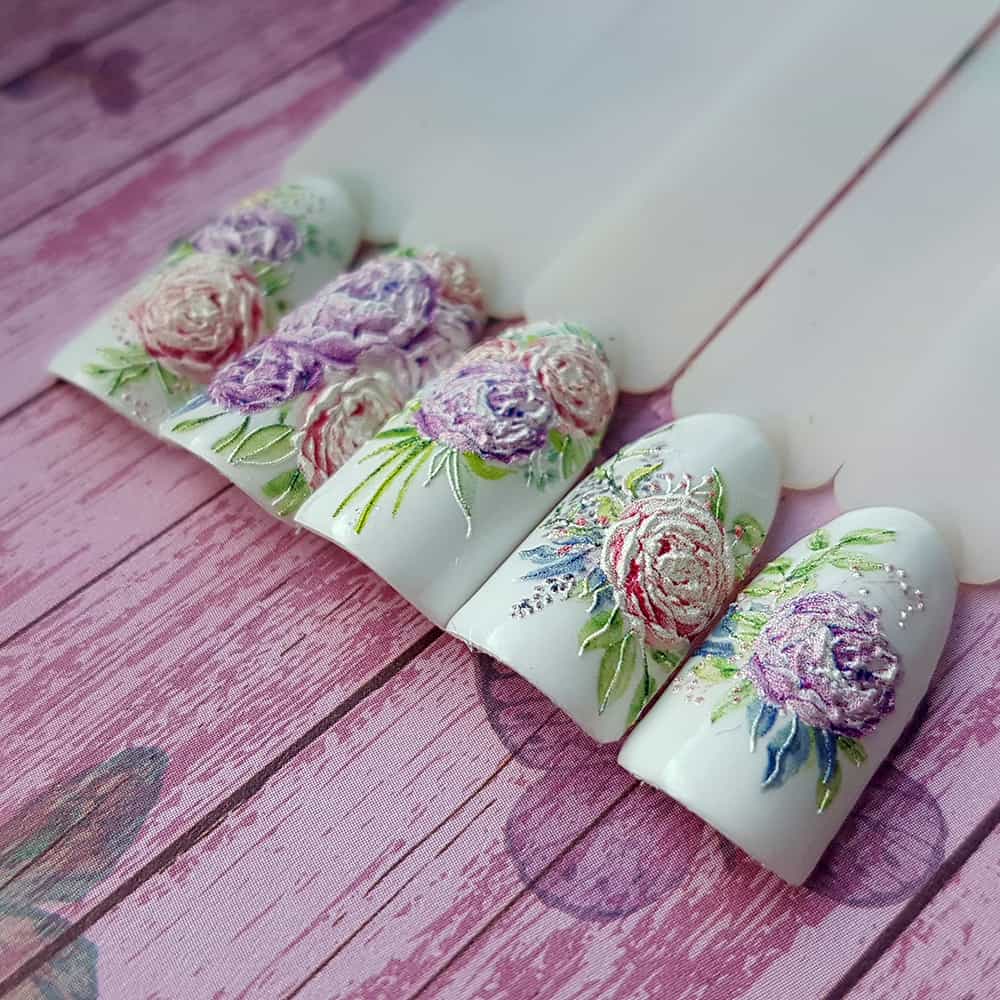
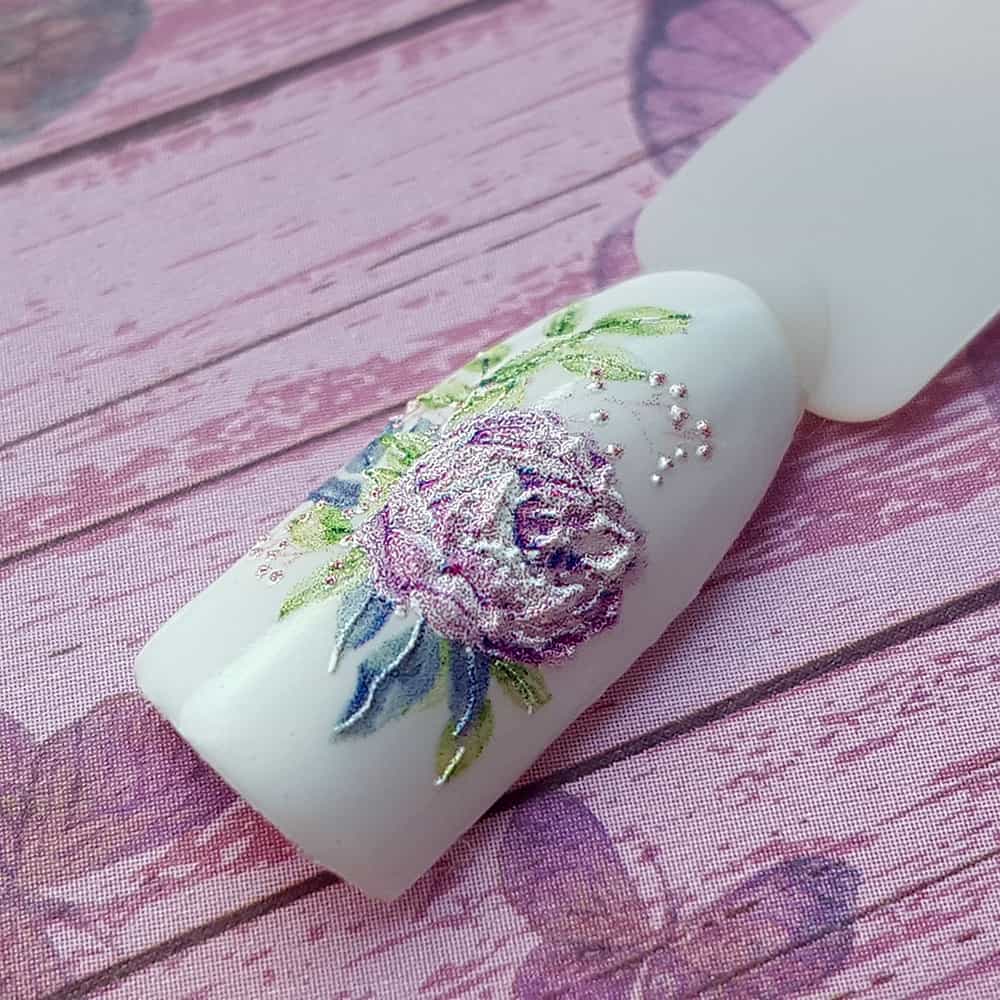
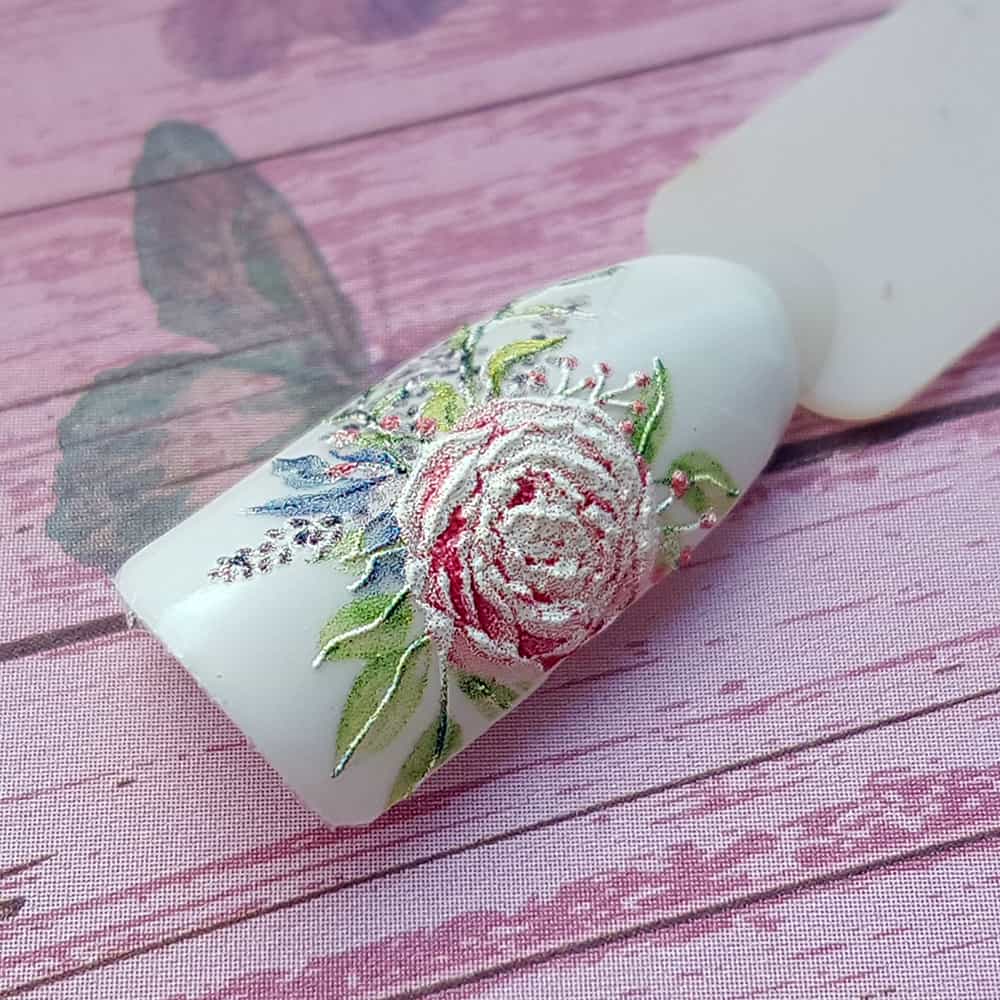
That's such a cute and very delicate design with the effect of volume we got.
Follow us on Instagram and Facebook so as not to miss the latest news.
- Комментарии

