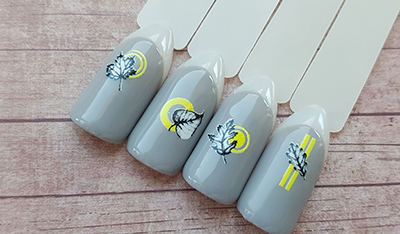
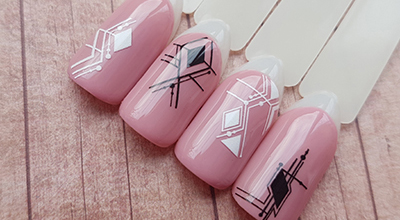
Manicure with volume snowflakes
This article will tell you about the technique of manicure with three-dimensional patterns. Nowadays, we have so many tools to create three-dimensional designs on the nails: gel paste, plasticine or gel jelly, which is also suitable for this task. But today we will consider a simpler way of creating this design: using a 3D slider.
You need the following tools to do this manicure:
1. Base (preferably suitable for aligning the nail plate);
2. Liquid base, which can be applied in a thin layer (we use HYBRID CARE SALON TREND UV/LED BASE COAT);
3. Colored gel varnish (for example HYBRID CARE SALON TREND UV/LED №131);
4. Top (for example, HYBRID CARE SALON TREND UV/LED TOP COAT);
5. 3D decal nail sticker (we use slider BPW.Style 3d5).
First, level the nail plate. You can find more information about this in the article It is important to do this step before applying the slider design, as otherwise the leveling layer over the design will simply even the entire volume of your pattern. After that, apply a bright blue gel-varnish. (For example HYBRID CARE SALON TREND UV/LED №131);

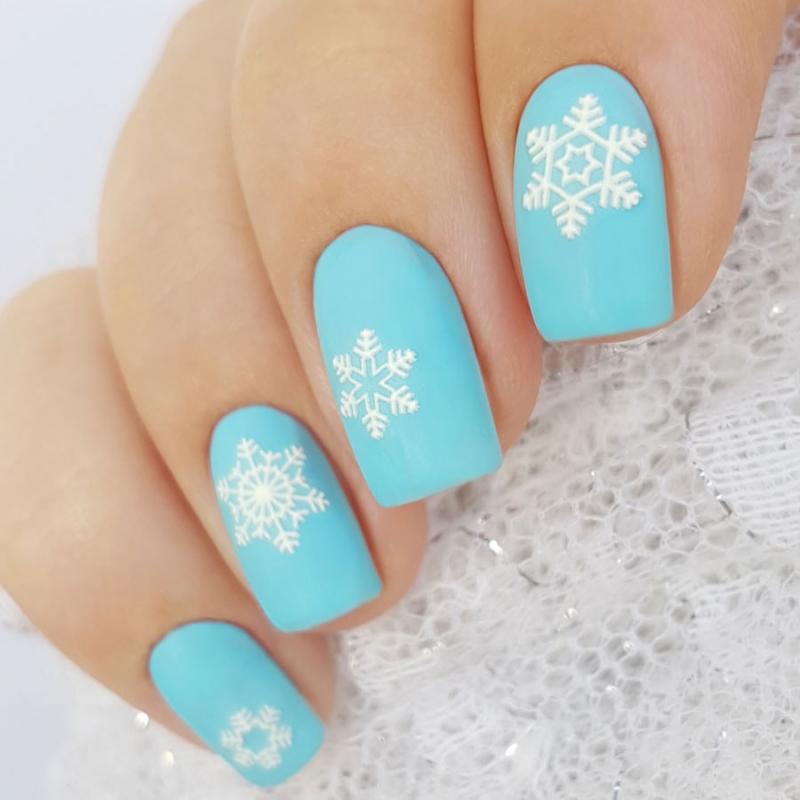
Next, start working on the slider design. The 3D slider is very similar to the standard slider design: a thin film with a pattern attached to a paper substrate. The difference is that in our case we have not a thin layer of paint, but a three-dimensional design, resembling a thin elegant plastic pattern.
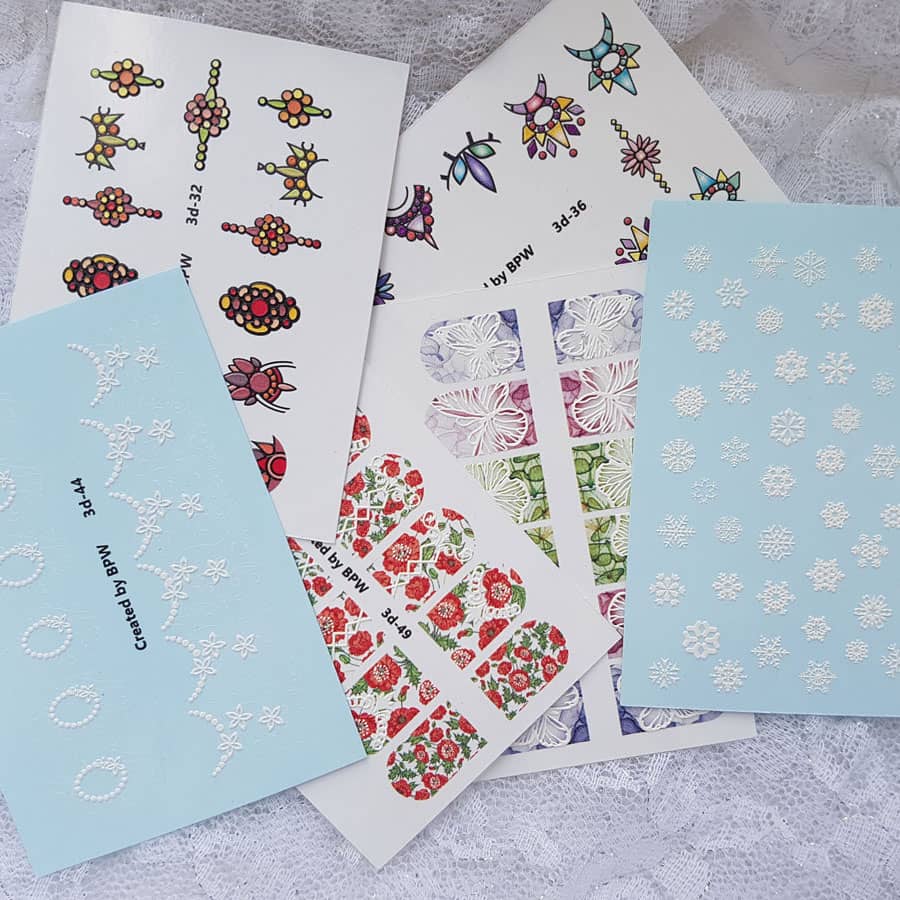
We have chosen a snowflake slider design for our manicure. (number 3D-5).
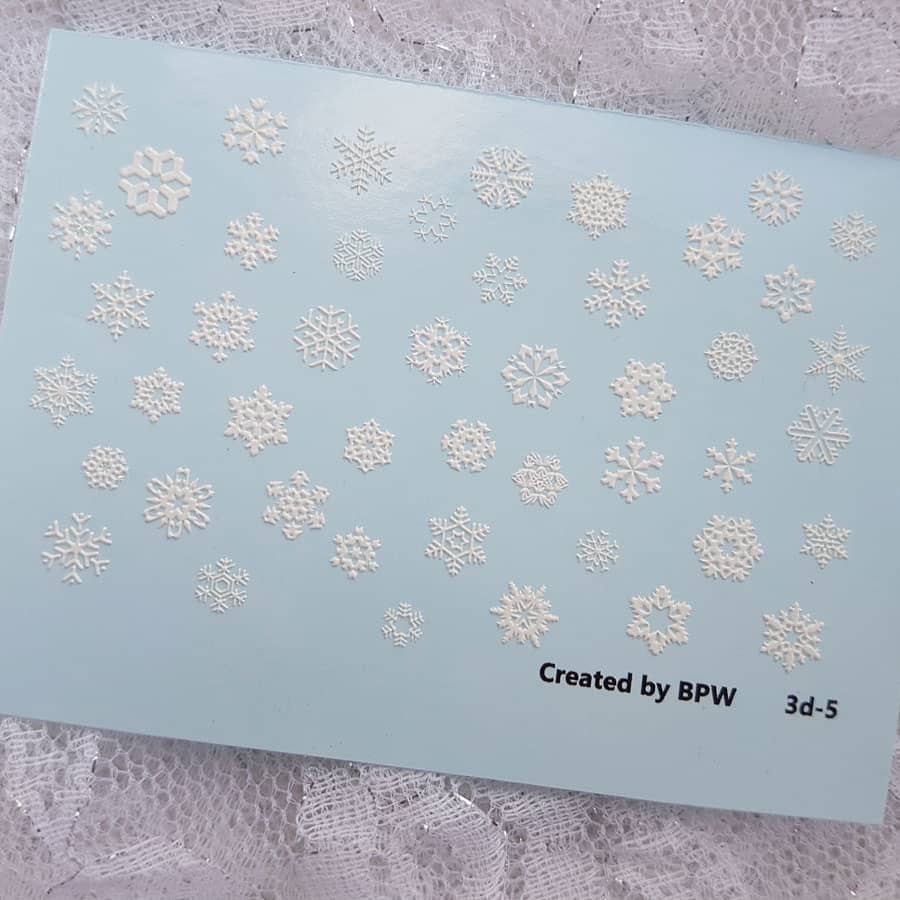
This material is flexible enough to repeat the bending of the nail plate, but at the same time you need to work carefully with it.
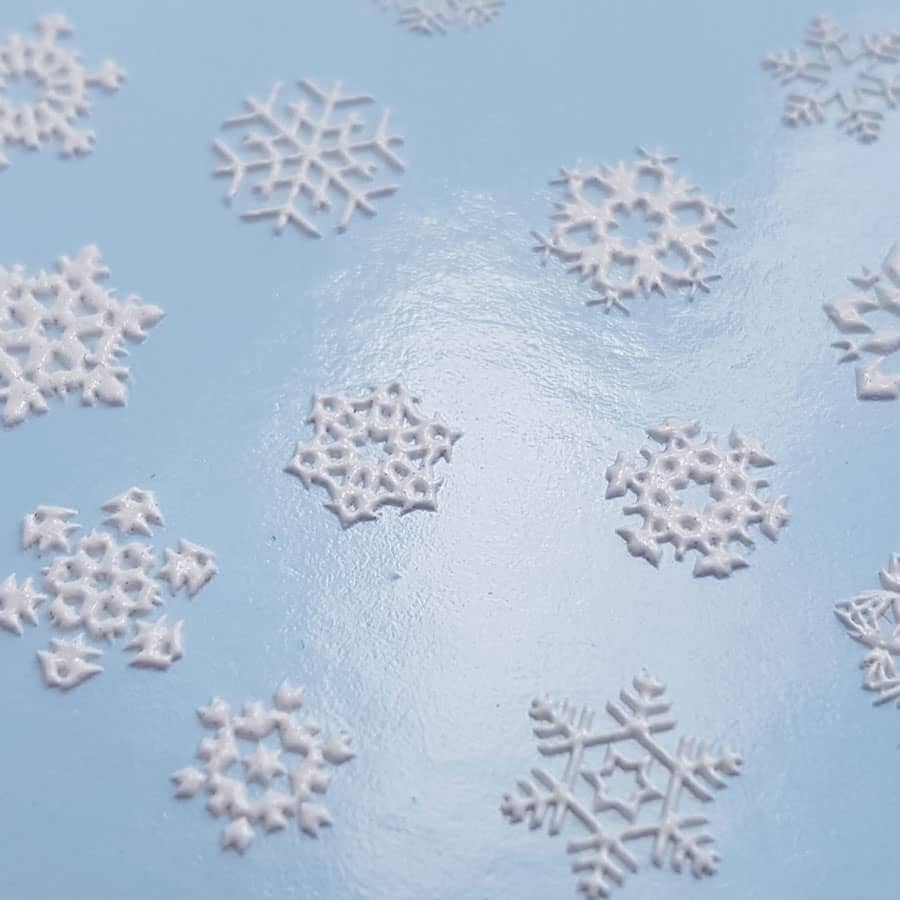
It is not so difficult to work with this design, as this technique of application is very similar to the technique of applying a standard slider design. Soak the chosen design in the water, remove excessive moisture with a napkin and apply it to the nail plate.
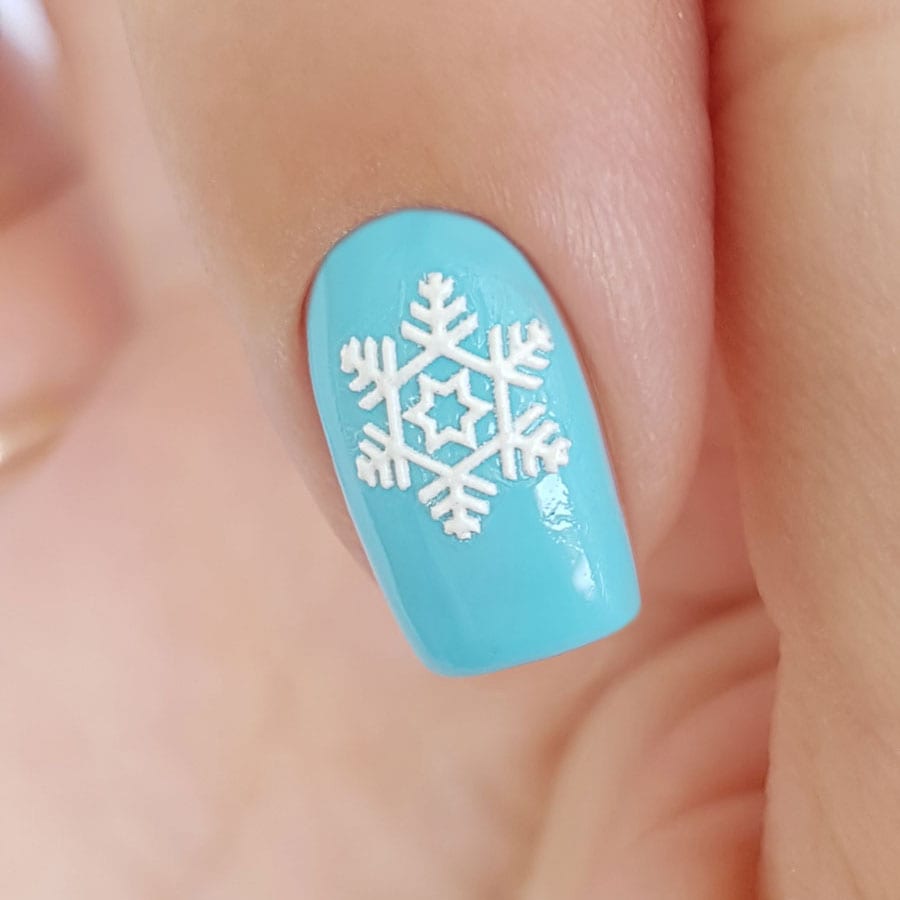
Here, the sticky layer is more important than ever. We advise you to apply it to a thin layer of an undried base: this will “dissolve” well the film on which the pattern is applied, will even the design on the nail plate and will remove the excess air. Why is this more important in this case? Because after the slider design is fixed, you will not be able to apply several layers of the thick top or thick base, as the thick layer of material will even our design and we do not need this. After leveling the design film on the nail, dry it.
Now take the base or the top, which you usually use to fix the slider-design (we used the Mollon PRO top), squeeze the brush out well and cover the nail, paying special attention to the area around the design. Make sure that a large drop of material does not get on the design. Dry it.
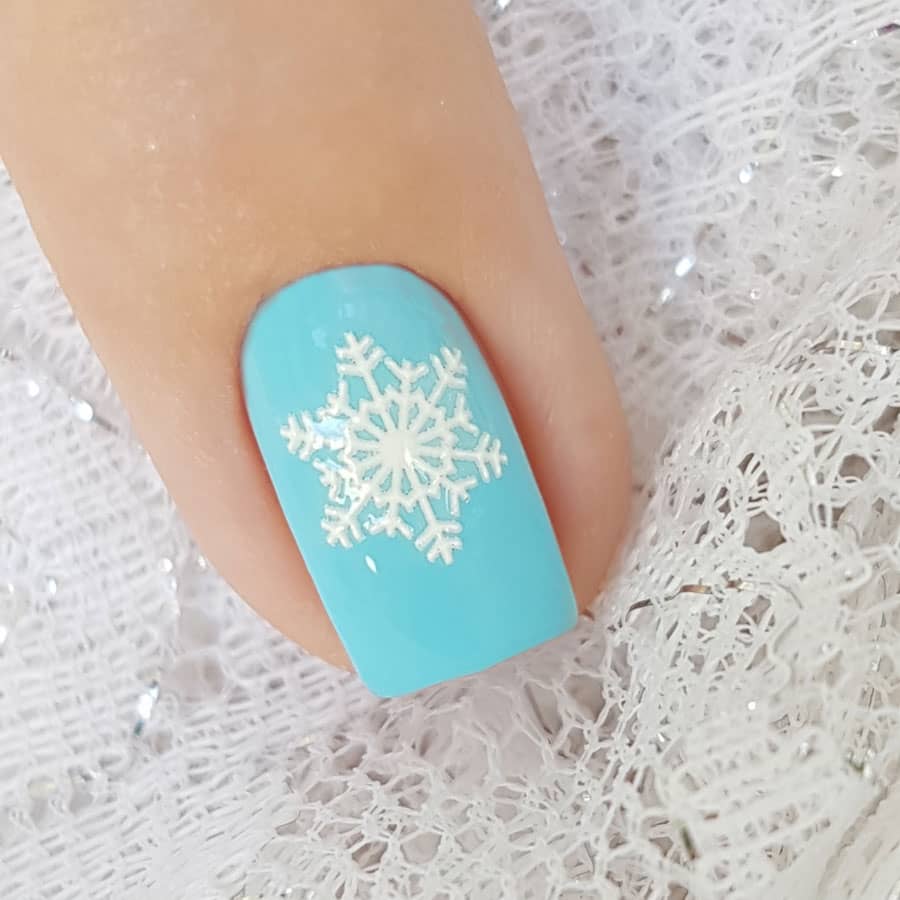
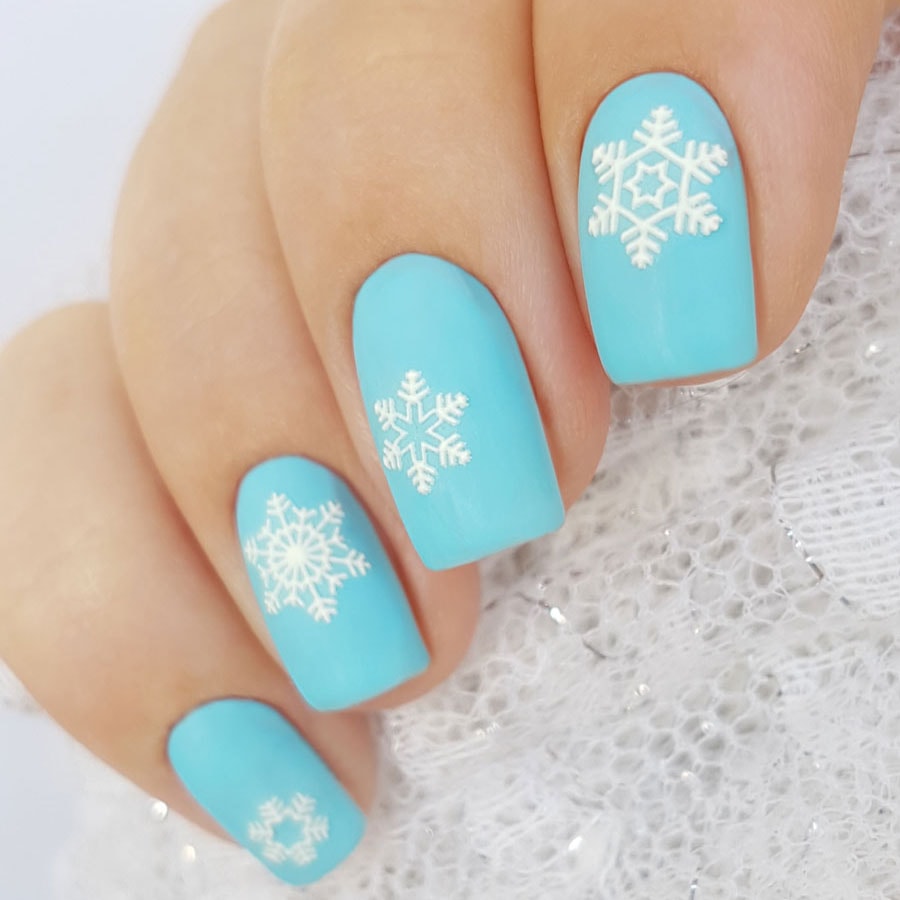
Here is our New Year’s snowflake manicure.
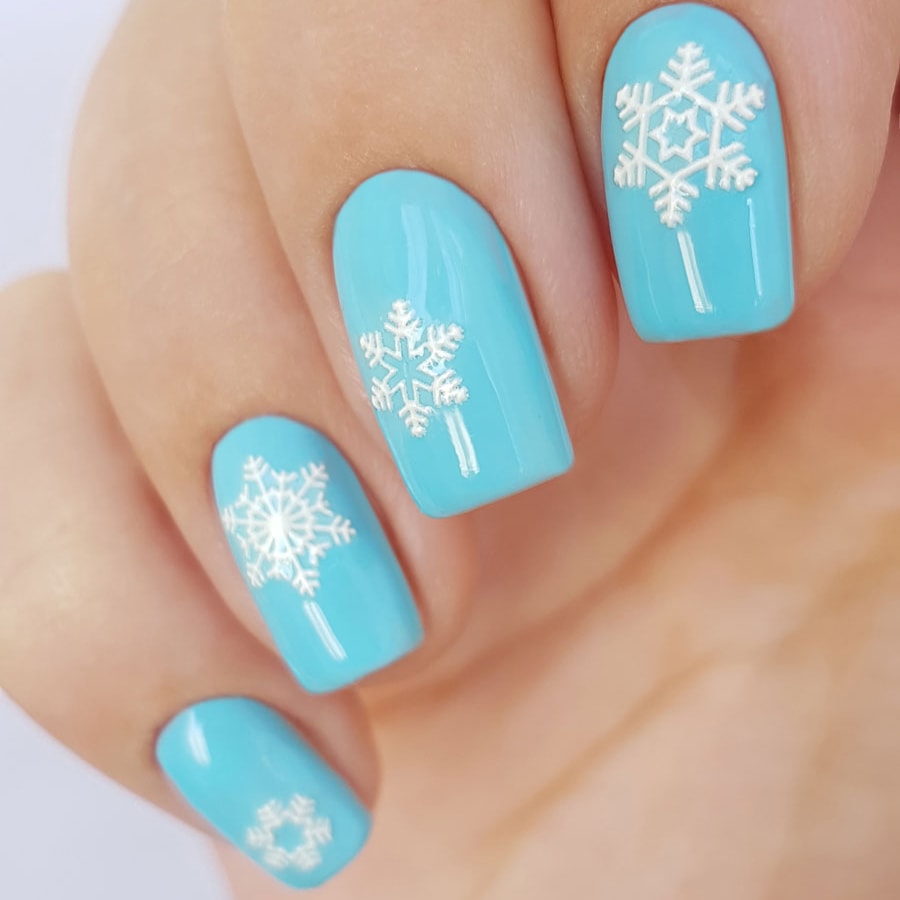
We think that this type of design will be in great harmony with a matte top, as it perfectly accentuates the relief.
If you failed to fix the design without losing the volume of the patter, use a fine brush, saturated with gel-paint or gel-paste on the top, repeating the pattern and adding an additional volume.
Follow us on Instagram and Facebook so as not to miss the latest news.
- Комментарии

