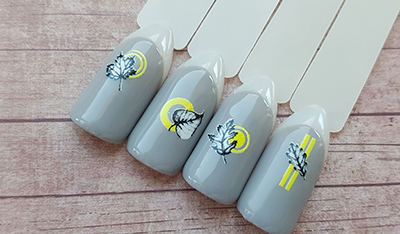
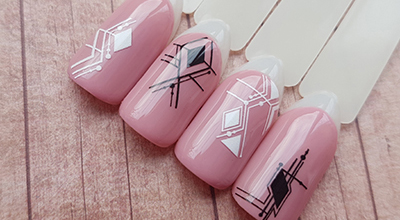
Manicure with nail wrap
Perhaps, all the women dream of beautiful, well-groomed nails. Sometimes, to achieve a beautiful manicure, experts use some tricks to quickly create an unusual design. One of these tricks is a nail wrap.
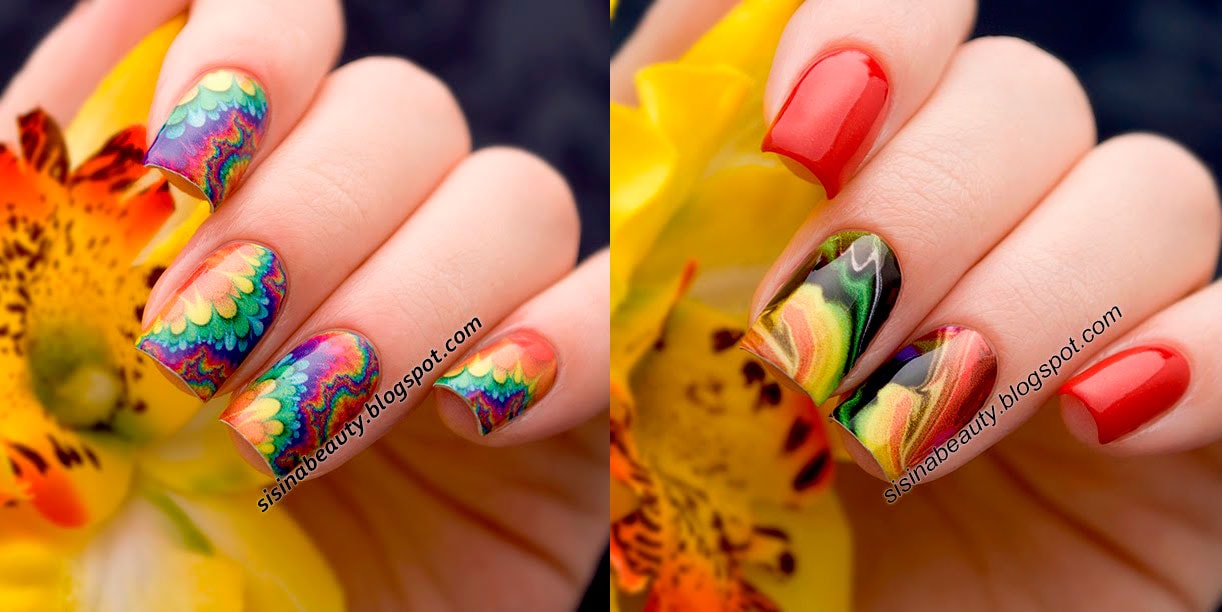
What is a nail wrap?
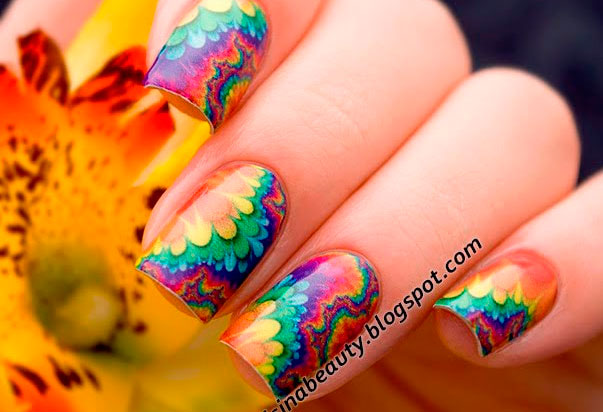
Nail wrap has appeared quite recently in the industry of nail art, but it has already managed to gain popularity among the experts. And it’s not at all surprising: after all, a few minutes of its use will provide a stylish and unique manicure, which, with proper care, can last up to two weeks.
It was first discovered in the United States, where it served as a replacement for hand painting. But unfortunately, it was not very resistant and that is why the thermal film was used exclusively for important events.
But today this situation has changed. Thanks to modern technology, the thermal film lasts much longer and can even be used on acrylic nails. It is worth noting that, despite all the improvements, its properties have remained as good as before.
Advantages of nail wrap
No one will have any doubts that this trick has many advantages and peculiarities. But there are three main advantages of the thermal film:
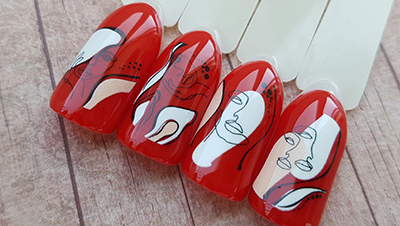
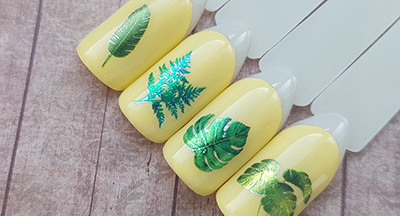
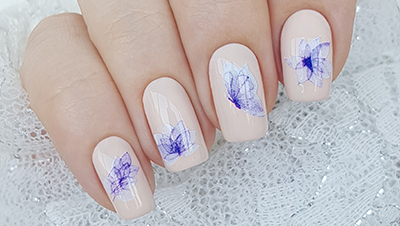
1. First of all, it allows you to create an amazing manicure without problems. Now, in order to create real patterns on your nails, either lace or with floral ornaments, you do not need to get a special training or have artistic skills. From now on, it’s enough to choose the right pattern.
2. Secondly, this manicure can be recreated even at home, without special equipment and special education.
3. Thirdly, perhaps most importantly, the materials used to create the thermal film are hypoallergenic, and therefore do not cause unpleasant sensations, irritations. It can be used by absolutely everyone who wants a beautiful, unusual manicure.
How to do your own manicure with a nail wrap?
First, we need the following materials:
1. Nail scissors;
2. Orange sticks;
3. Nail file;
4. UV lamp or blow dryer;
5. Pincer;
6. Degreaser;
7. Base;
8. Finish.
First of all, you need to prepare your nails; this is done in the same way as for a normal manicure: remove the cuticle, ensure that the nails have identical shape.
Once the nails are ready, start creating the design.
1. First, cut off the necessary amount of nail wrap, but it is better to cut it off with a small reserve.
2. Take an orange stick and use it to carefully separate the film from the sticker and warm it under the lamp. In case you do not have a lamp, you can use a standard hair dryer.
3. While the coating is still warm, you should carefully move it to the nail, spread it and press lightly.
4. Once you complete this procedure for each finger, place your hand under the lamp and hold it there for several minutes. This is necessary to complete the fixation of the coating on the nail.
5. Superfluous remnants of the film can be carefully cut away with manicure scissors. And if there are irregularities somewhere, they can be quickly and easily removed using a glass nail file.
6. At the last stage of the creation of this manicure, cover everything with a finish or with a simple, colorless polish. This will help your manicure to remain on your nails much longer, and it will be protected from the negative impact of the environment.
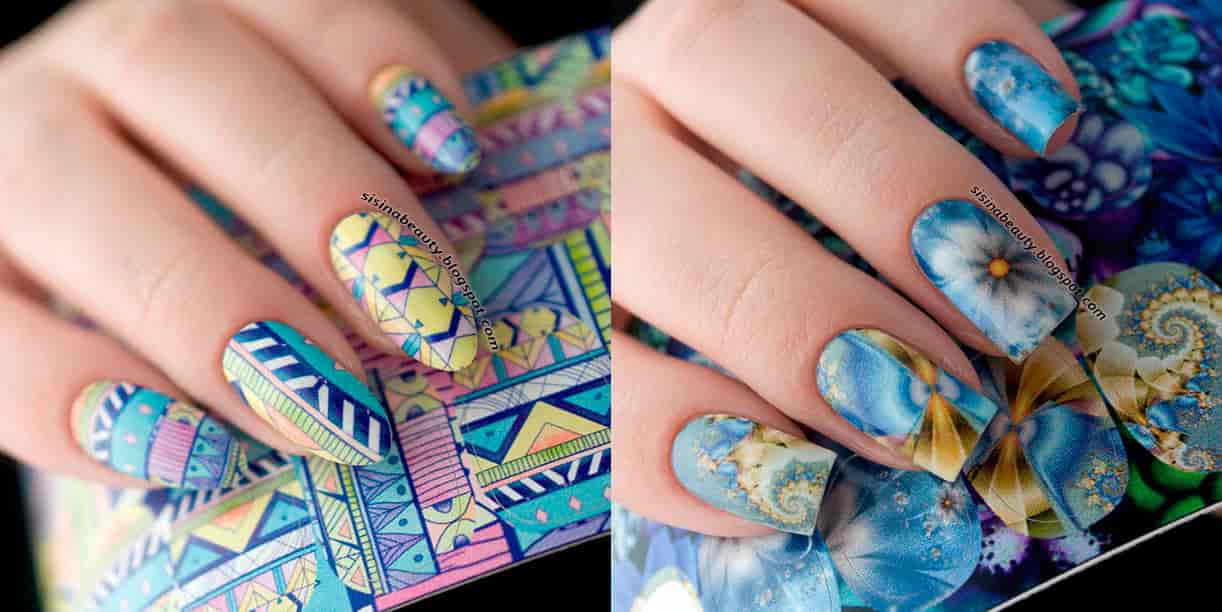
To look and choose nail wraps you can in our store
Follow us on Instagram and Facebook so as not to miss the latest news.
- Комментарии

