Cherry manicure
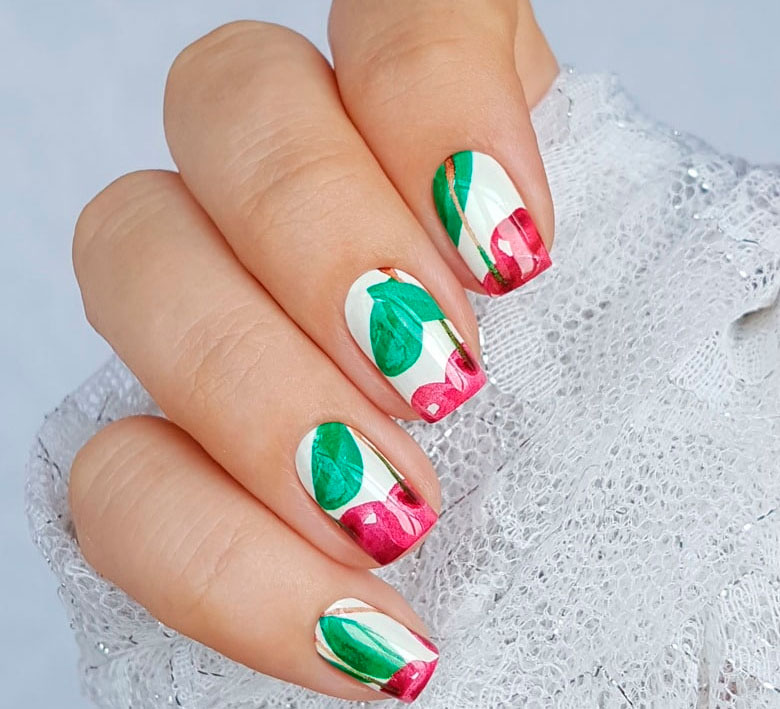
Hello, everyone! Today I will tell you about the appetizing cherry manicure. Earlier (a link to the previous material), I have already told about the technique of applying slider-design, today I want to share the technique of applying the design to the entire nail plate.
We will need the following tools to do this manicure:
Acid-free primer;
Gel polish base (for example, HYBRID CARE SALON TREND UV/LED BASE COAT);
White or light gel polish (for example Mollon Pro Gel Polish HYBRID CARE SALON TREND UV/LED №139);
Decal sticker (for example BPW.Style 1-1000);
Gel polish top (for example, HYBRID CARE SALON TREND UV/LED TOP COAT);
Scissors; ;
Nail file;
Silicone pusher/flat brush;
Paper napkin (white better).
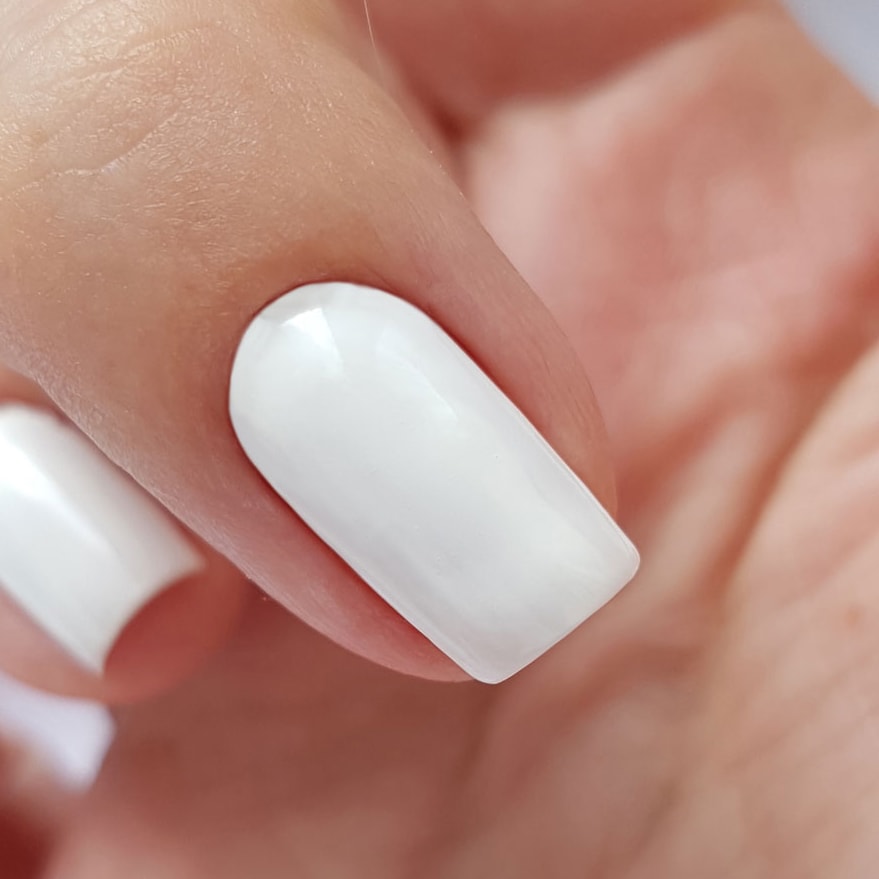
I applied a gel polish base on all the nails (for example, HYBRID CARE SALON TREND UV/LED BASE COAT), after which I covered the nail plate with white color in an effort to get a dense coating.
Once I dried the white color, I applied a gel-polish base.
It is important that the base layer is thin, as the thick layer will “dissolve” the slider-design film faster and the pattern can “begin to melt”, besides, the thick layer increases the thickness of the coating, which does not look aesthetically.
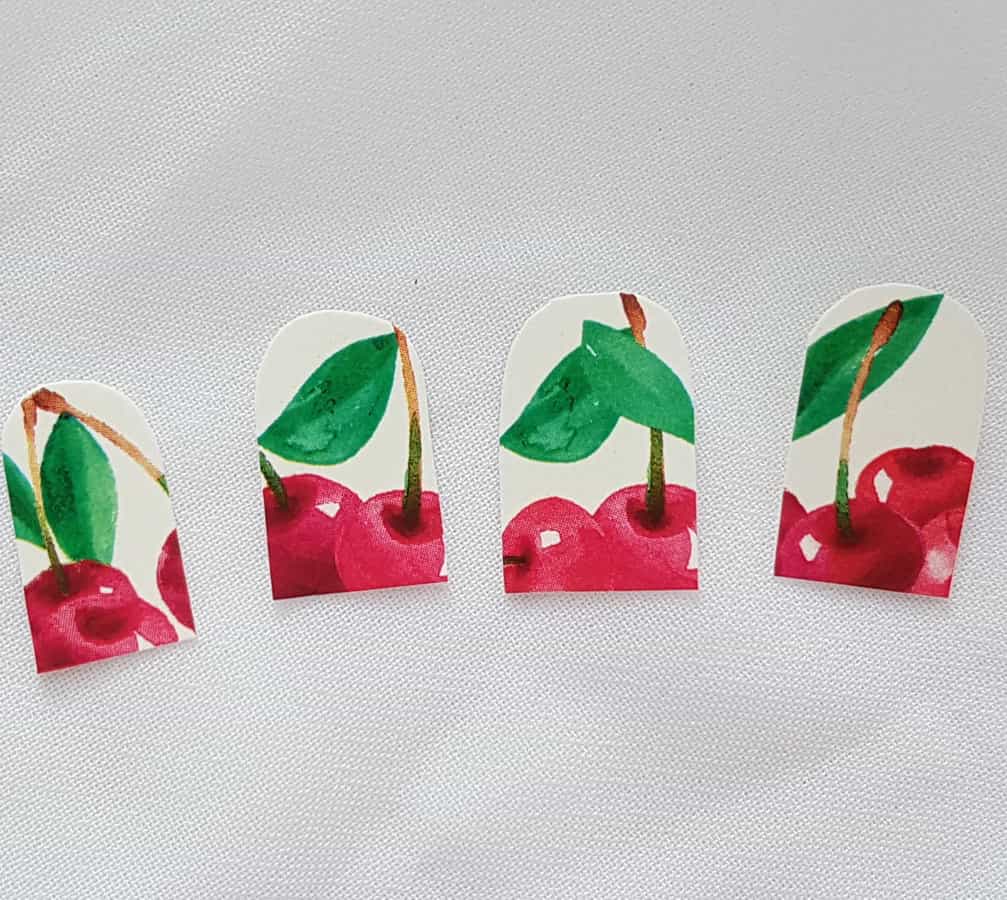
I apply the slider-design on the undried base. For my manicure, I chose “BPW.Style” slider design (number 1-1000).
This type of design (for the entire nail) hides some defects, but it’s easy to cope with them if you do everything right.
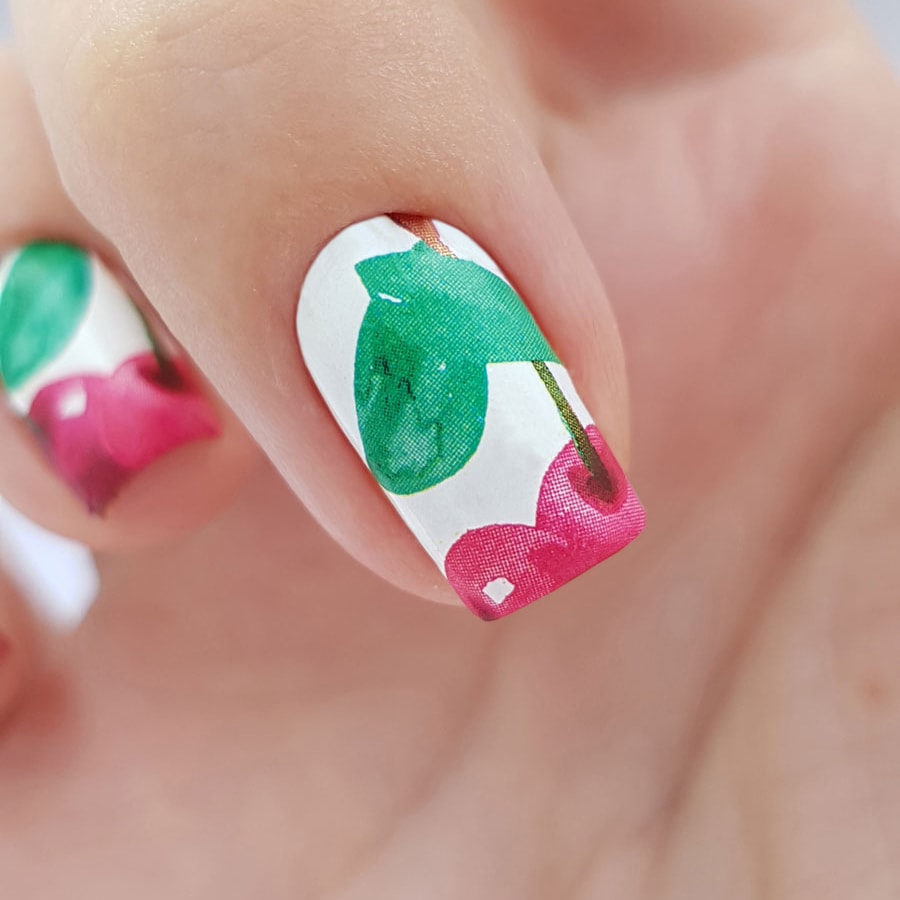
First, cut out the design across the width of the nails. It is quite difficult in the beginning, but over time you will have a trained eye. Cut it out in such a way that the film is slightly away from the edge of the nail plate, so the design will last longer.
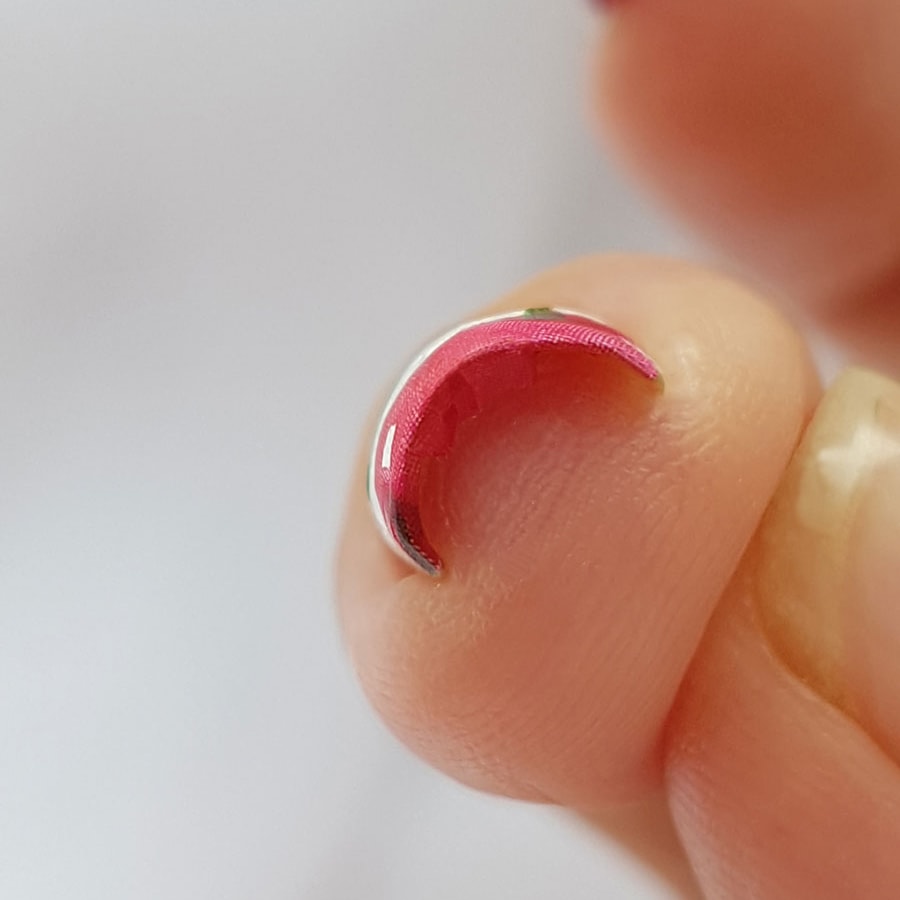
Put the cut picture into the water, dip it with a paper napkin, so that excess water does not fall on the nail, and put it on the nail plate.
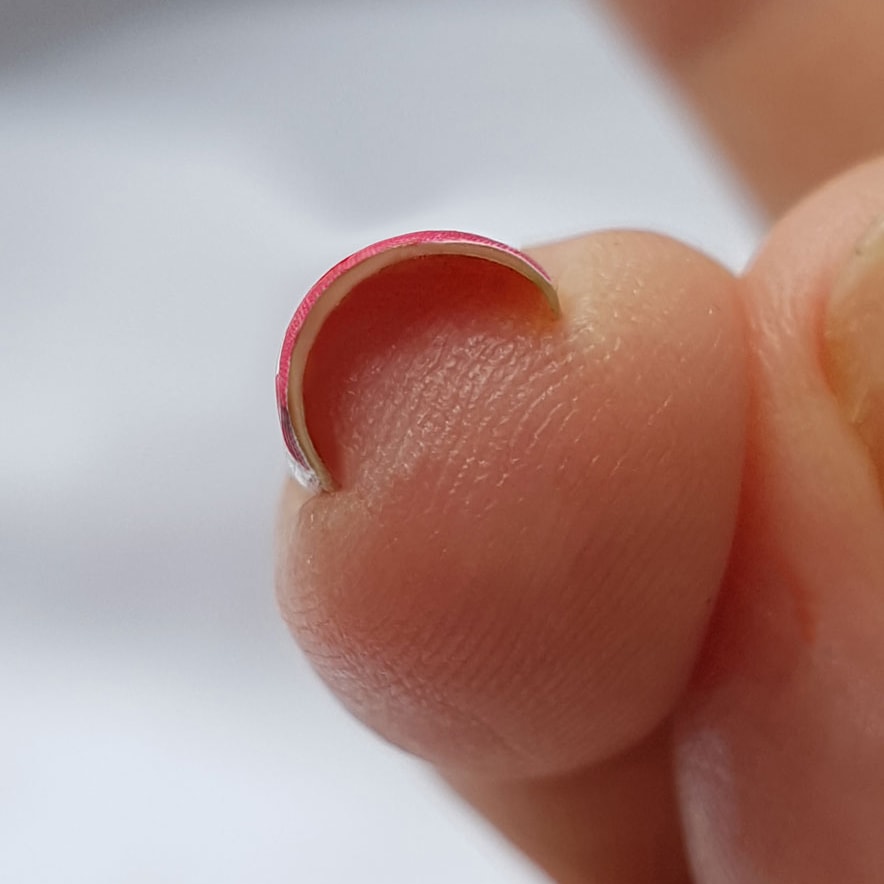
The film on the nail can shrink a little, it is not scary, once the top is applied, and the small wrinkles will disappear. But it is important to remember, the thicker the base layer, the stronger the image will dissolve and create undesired wrinkles, so we apply the maximally thin layer of the base.
This stage of manicure is the most important. You need to properly smooth the design (for the purpose you can use a soft silicone pusher, a flat brush or a finger wrapped in a paper napkin), remove air bubbles, and make sure that the design fits flush with the nail plate throughout its area.
It is important to pay special attention to the nail end. I bend the slider, smoothing the nail end and only after that I put the nail into the lamp.
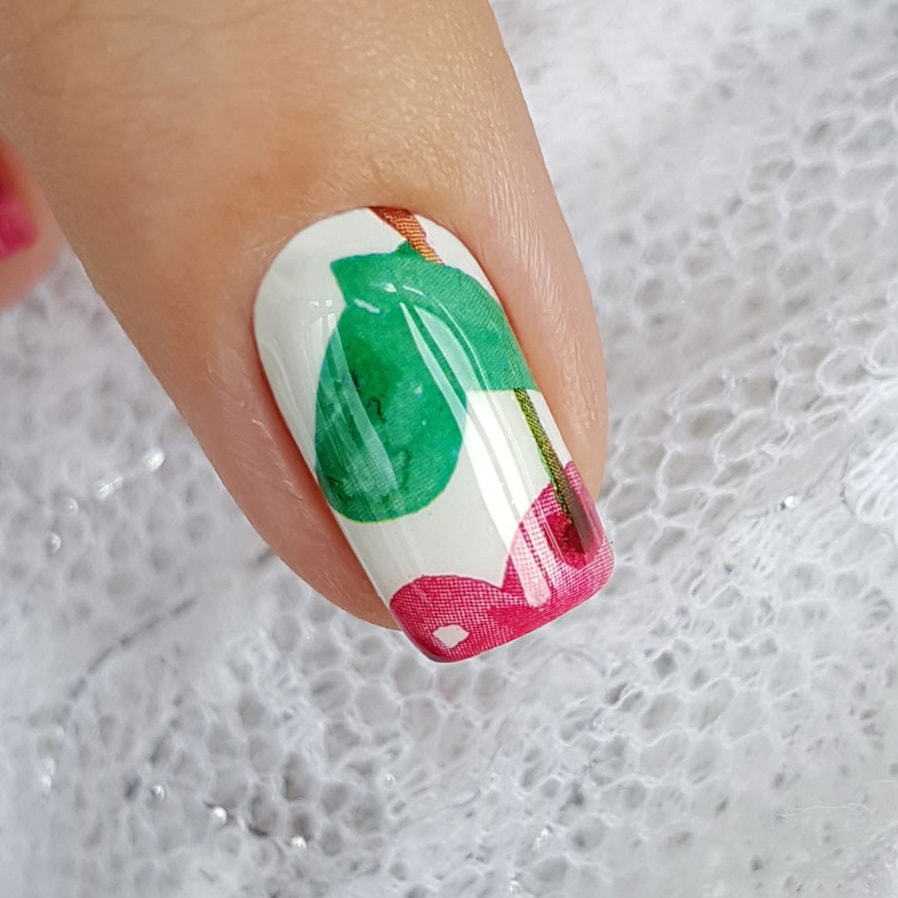
After the base with the slider dried in the lamp, take a soft nail file (I use a glass nail file) and gently, keeping the file perpendicular to the nail plate, cut the slider from the end of the nail.
It is important that at this stage the nail file is clean and does not produce dust on the nail plate.
Next, I take the primer and treat the nail end, slightly touching with the brush. It is necessary to work very carefully with the primer, trying not to touch one place twice, otherwise, the primer can dissolve the pattern.
After that I apply another layer of the base, paying special attention to the nail end and sides of the nail plate so that the slider is well sealed between the two base layers. Dry and apply the top.
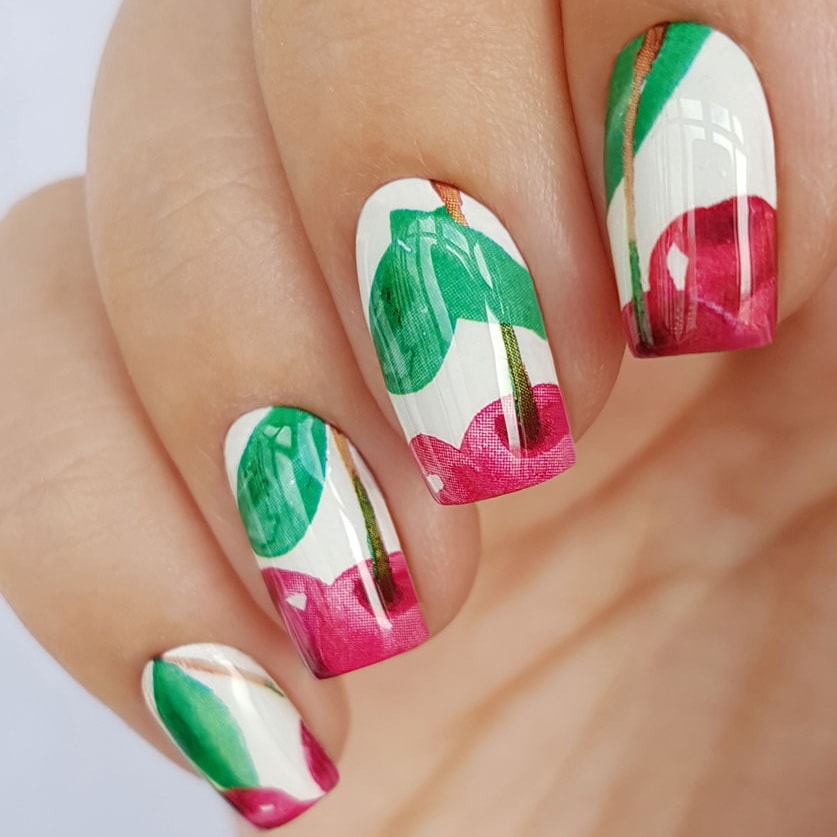
Here is my summer cherry manicure.
Follow us on Instagram and Facebook so as not to miss the latest news.
- Комментарии

