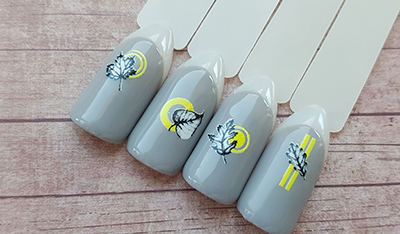
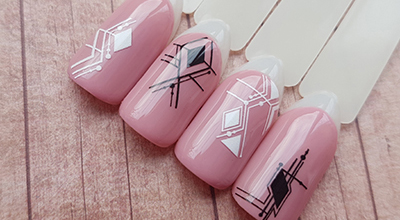
Marble manicure
16 May 2018 0:00
// Manicure
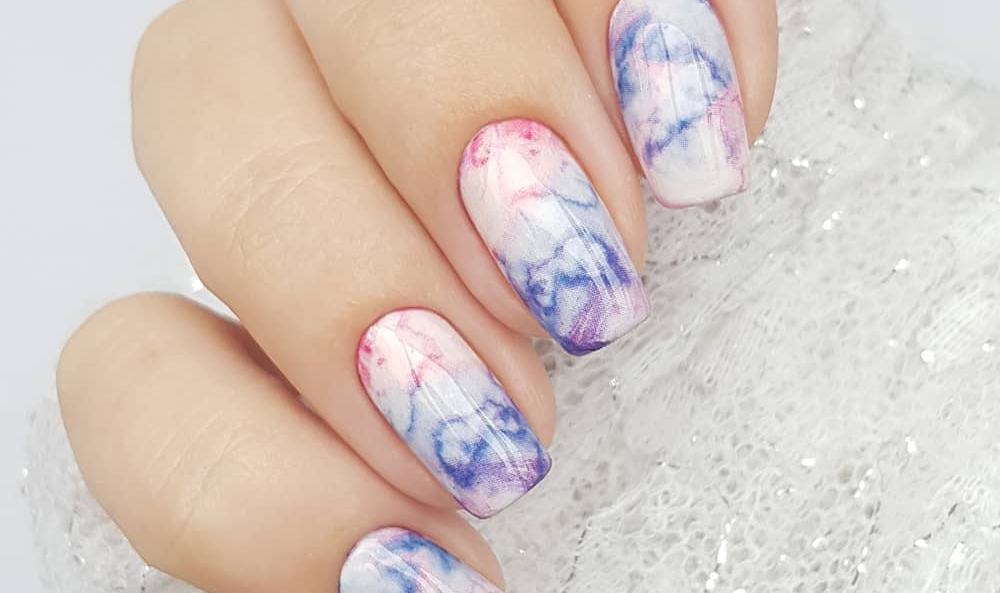
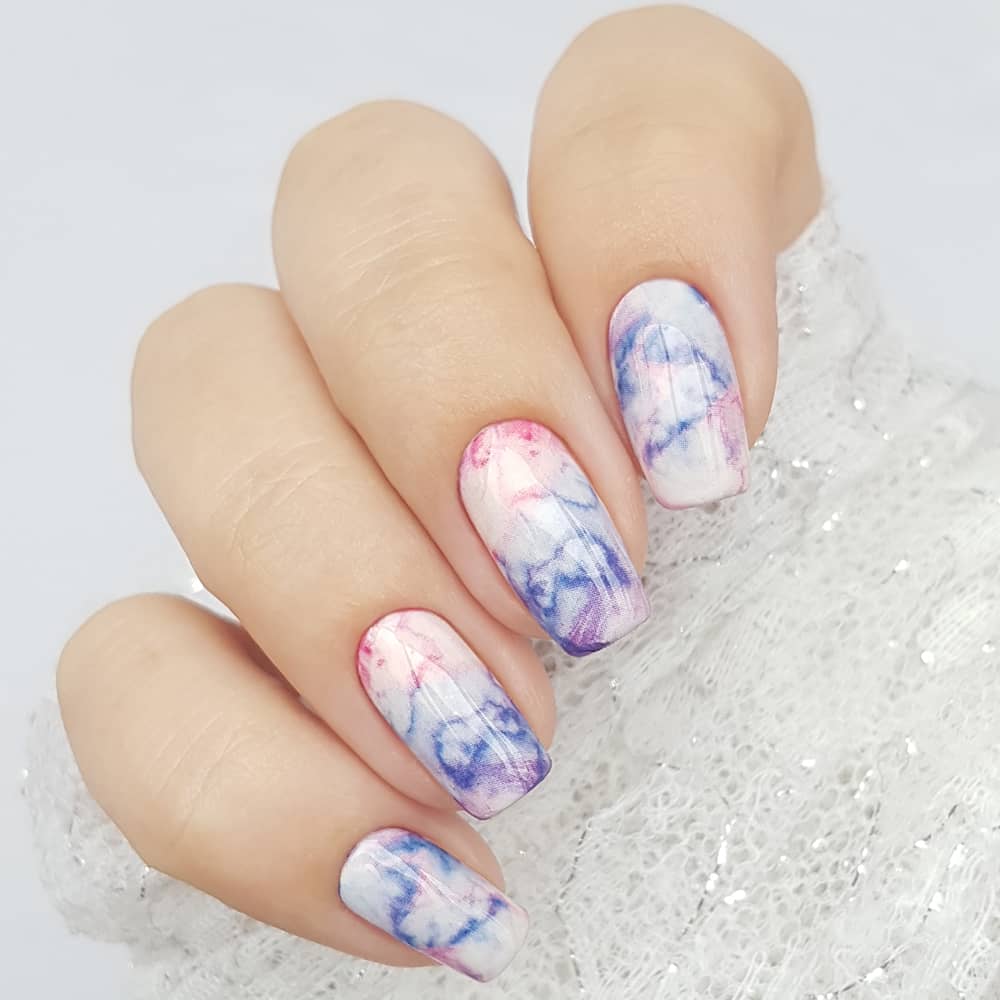
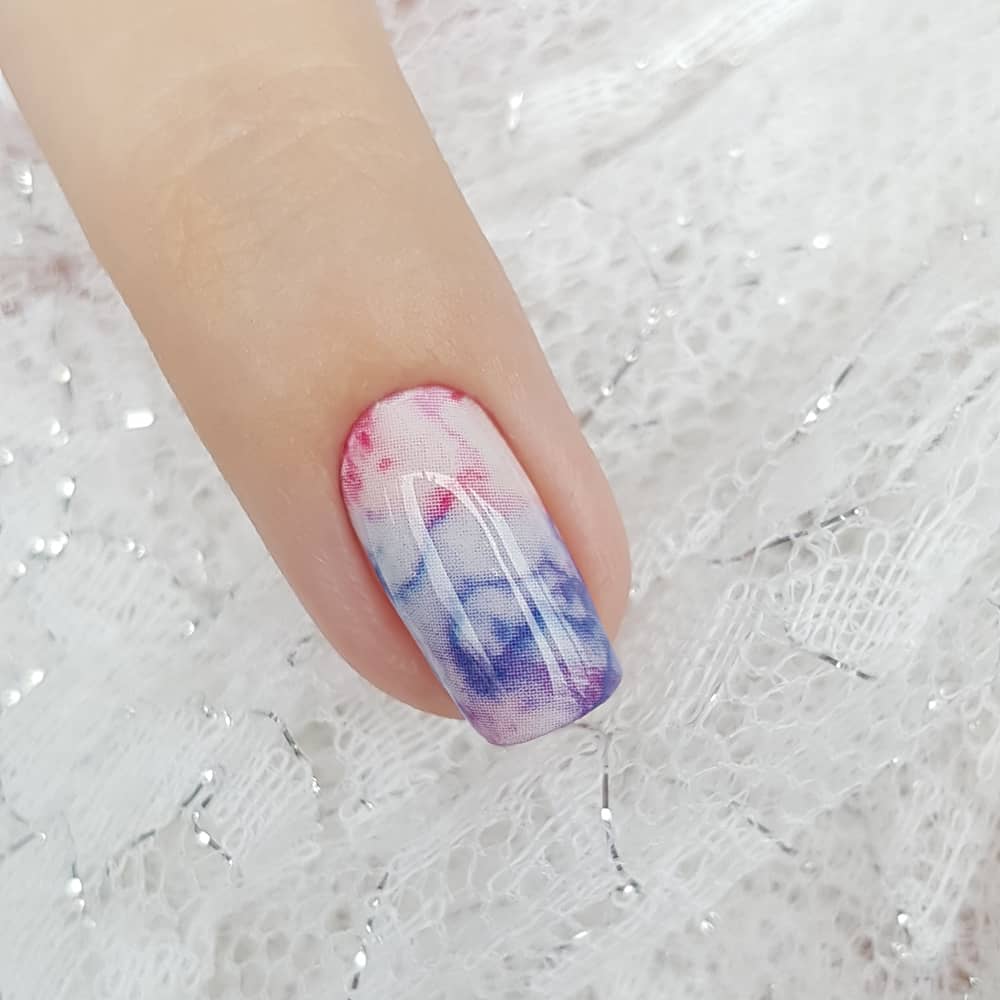
Today we will share with you the ideas of doing "marble manicure" with the help of sliders for nails.
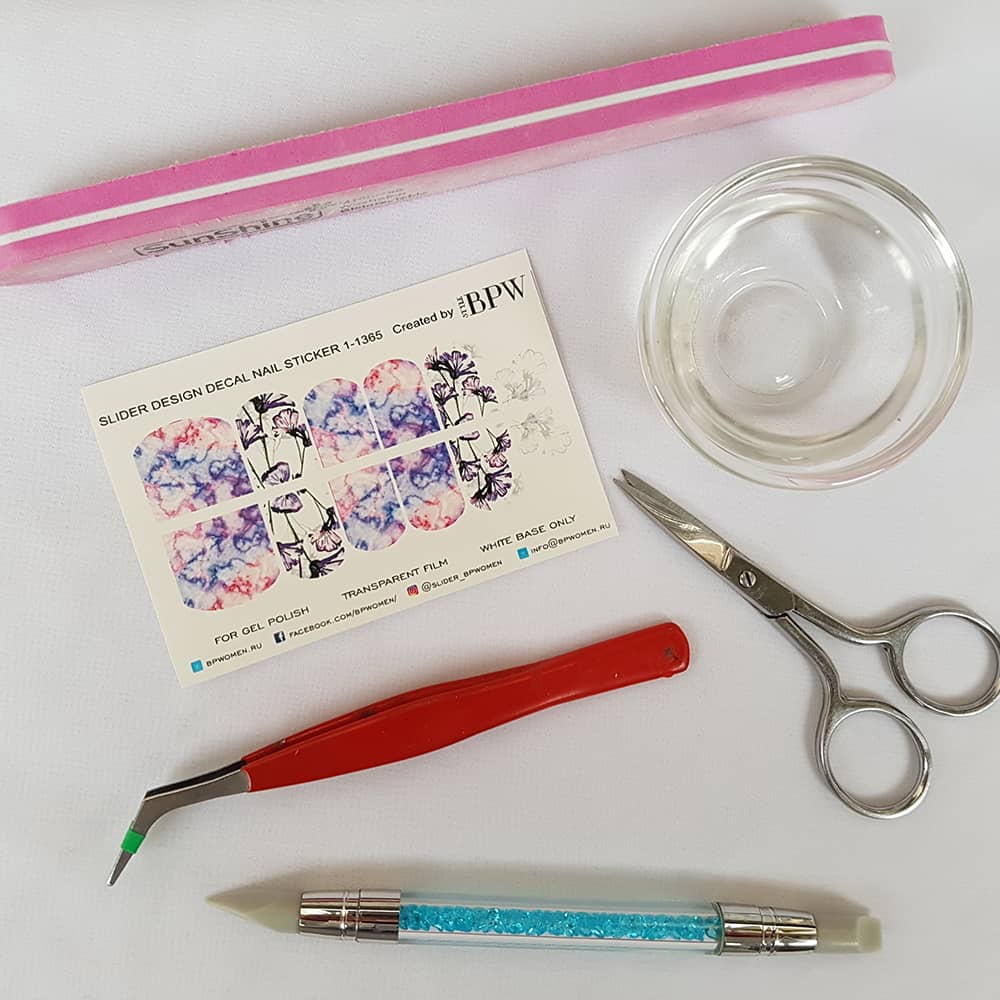
To perform this manicure we will need:
- Base for gel-polish (thick for leveling and strengthening, and liquid for fixing the slider on the nail plate);
- White gel-polish;
- Top for gel-polish;
- Nail deca (we used nail decal 1-1365);
- Scissors;
- Water;
- Dry napkin for removing excess water;
- Tweezers;
- Buff or soft file for removing the slider-design from the butt-end;
- Silicone claw / silicone brush / orange stick to smooth the slider design;
- Liquid for removing the sticky layer;
- Lamp for polymerization of gel-polish.
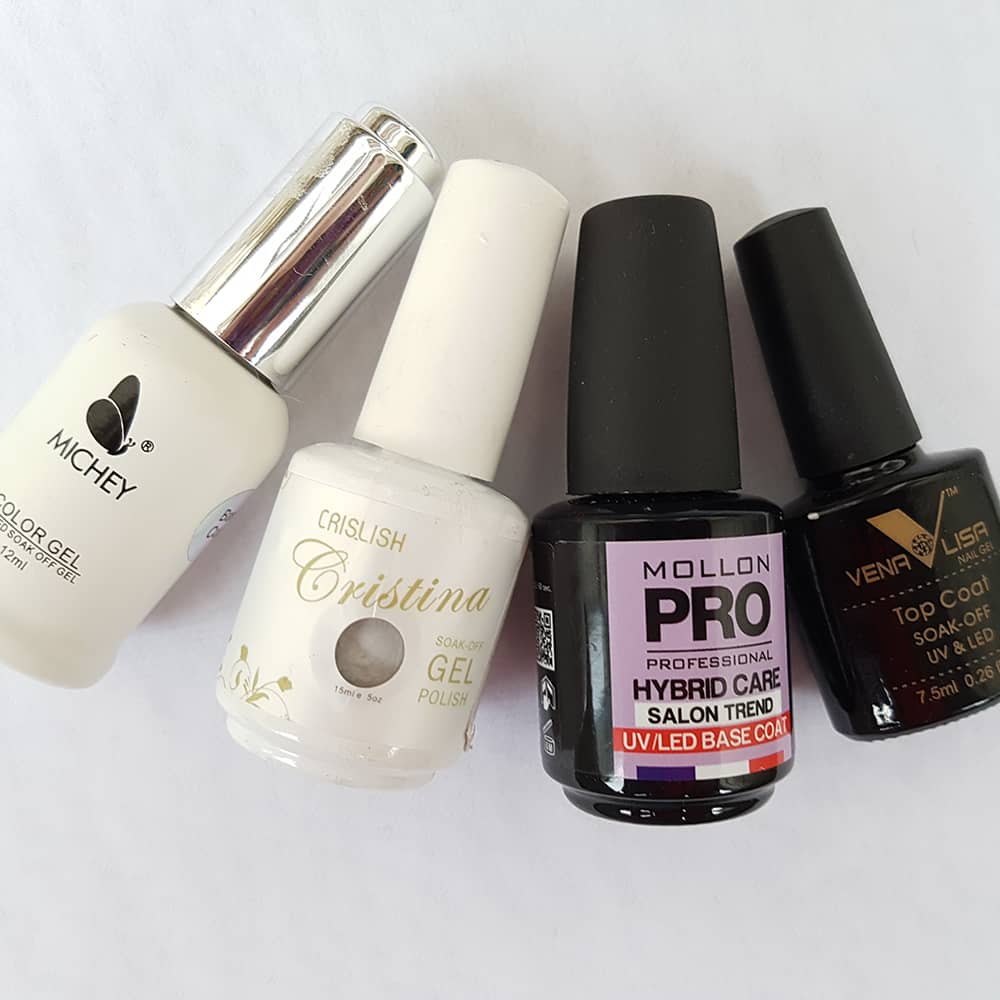
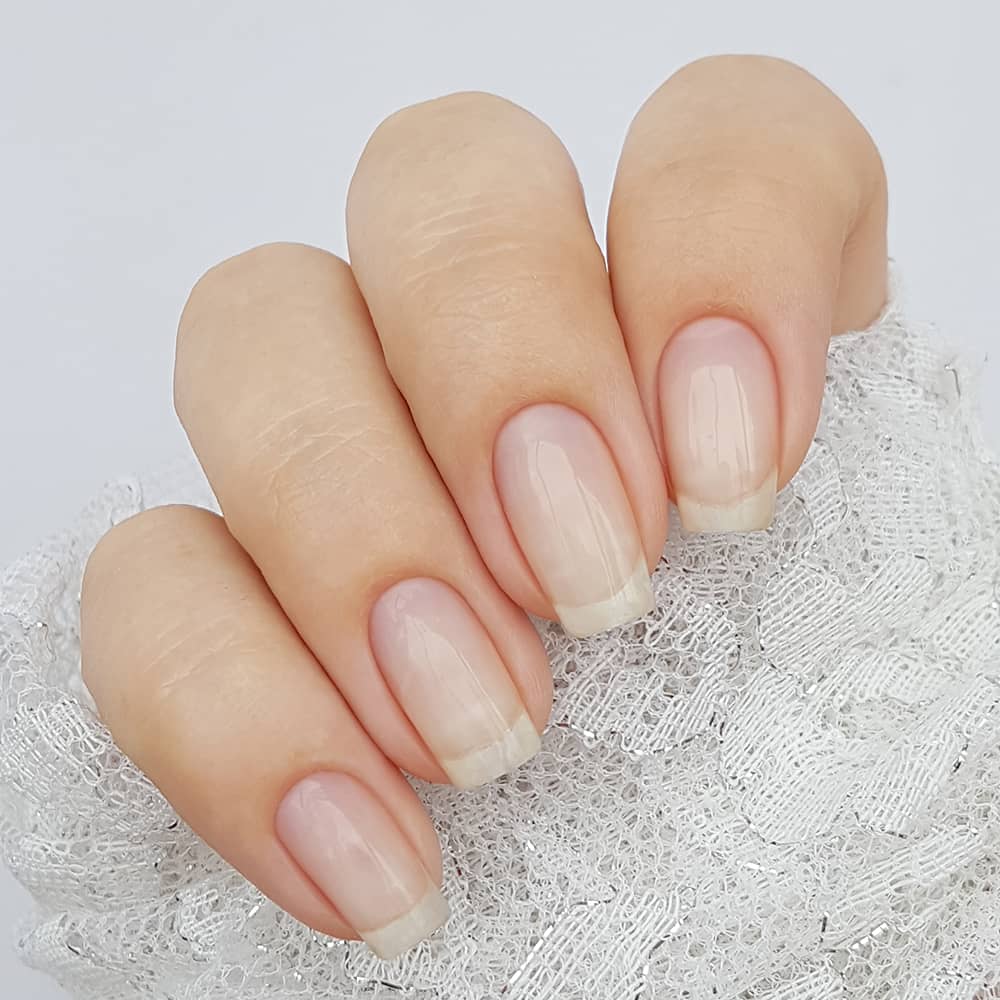
On all the nails we put a thick base to align and strengthen the thin nails.
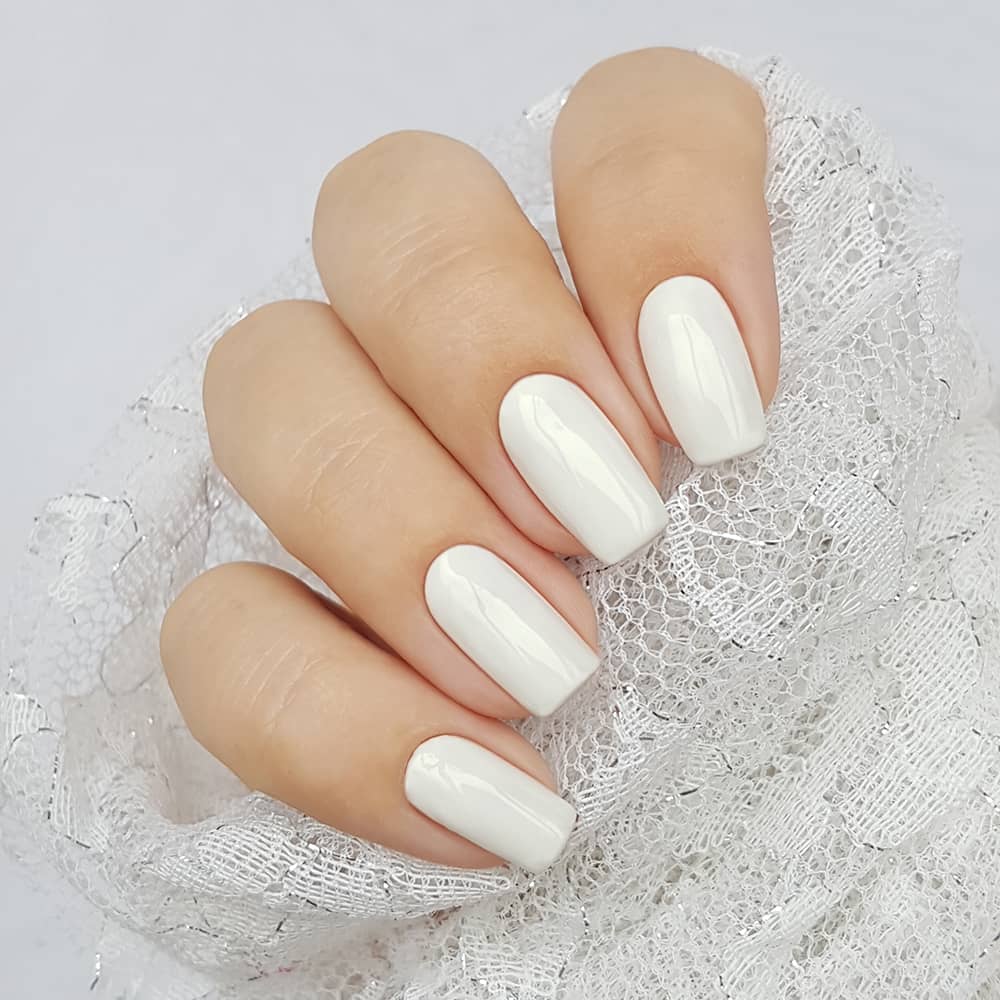
Next, put two layers of white gel-polish Cristina (shade 1323), so that the nail plate had a dense coating.
To decorate our nails, we chose the slider design from BPW (number 1-1365).

In order to fasten the slider and be sure that it will last several weeks, we used the "wet base" method. There is a perfect base from MollonPRO: the base is not dense, and does not add too much manicure.
Nex steps:
- We applied a thin base layer on the white gel-polish;
- Do not polymerize the base in the lamp, put the slider design and align it using a silicone brush (you can also use a finger wrapped in a white dry paper napkin);
- We polymerize the base layer with the slider-design;
- We remove the slider design from the end of the nail plate with the help of a baffle;
- We apply the second layer of the base;
- We fix it with a layer of top. We used the top without an adhesive layer, so we did not remove the sticky layer, but immediately began to enjoy the air manicure.
Follow us on Instagram and Facebook so as not to miss the latest news.
- Комментарии
Loading comments...

