Sweetbloom маникюр с объемным слайдером
This article will tell you about the technique of manicure with three-dimensional patterns. Nowadays, we have so many tools to create three-dimensional designs on the nails: gel paste, plasticine or gel jelly, which is also suitable for this task. But today we will consider a simpler way of creating this design: using a 3D slider.
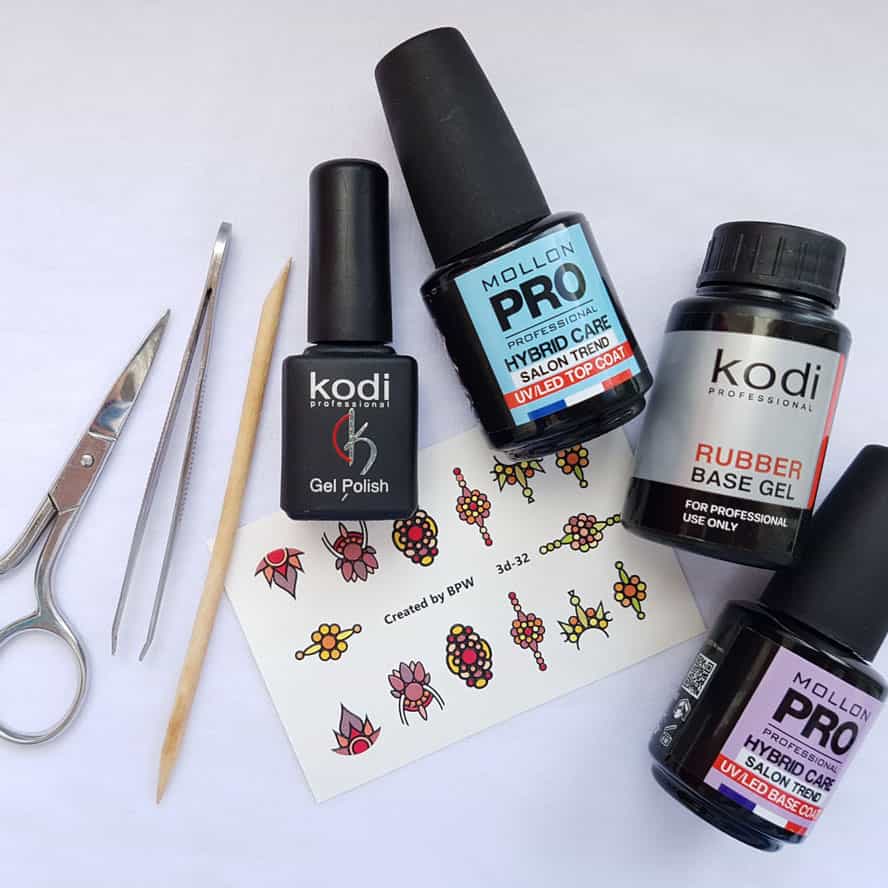
You need the following tools to do this manicure:
1. Base (preferably suitable for aligning the nail plate);
2. Liquid base, which can be applied in a thin layer (we use HYBRID CARE SALON TREND UV/LED BASE COAT);
3. Colored gel varnish (for example HYBRID CARE SALON TREND UV/LED №131);
4. Top (for example, HYBRID CARE SALON TREND UV/LED TOP COAT);
5. 3D decal nail sticker (we use slider 3d-32)
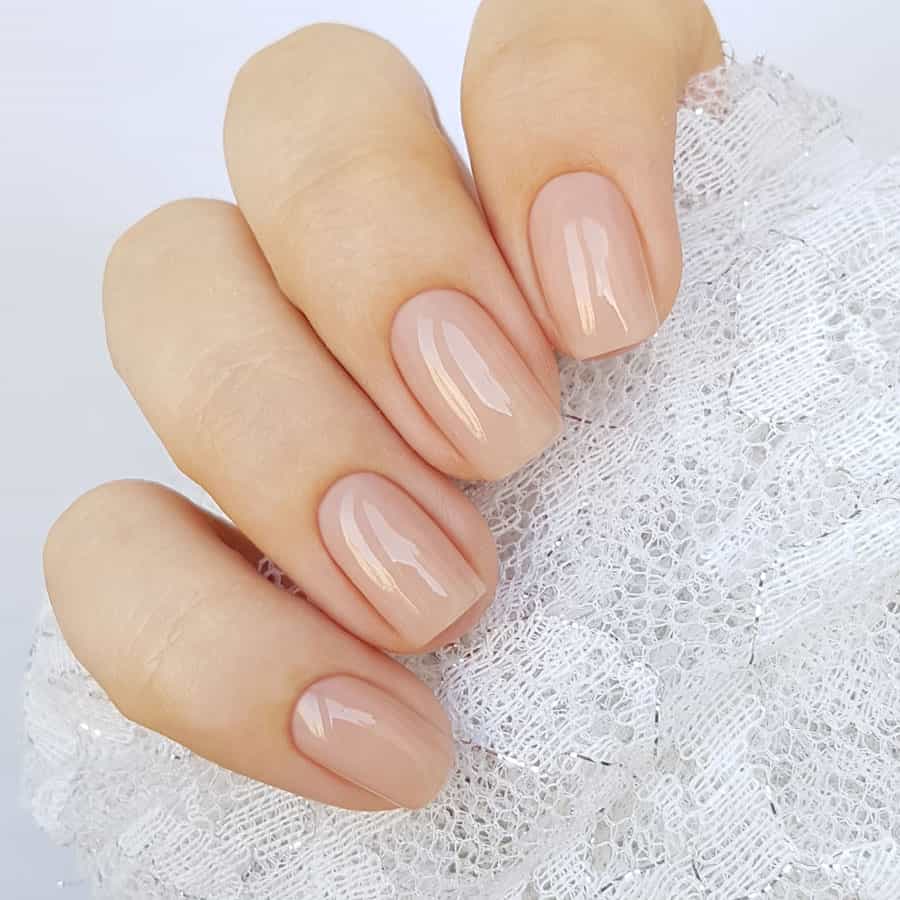
First, level the nail plate. You can find more information about this in the article It is important to do this step before applying the slider design, as otherwise the leveling layer over the design will simply even the entire volume of your pattern. After that, apply a bright blue gel-varnish. For this we used a base from Kodi. On top, we apply beige gel varnish Kodi (shade 69).
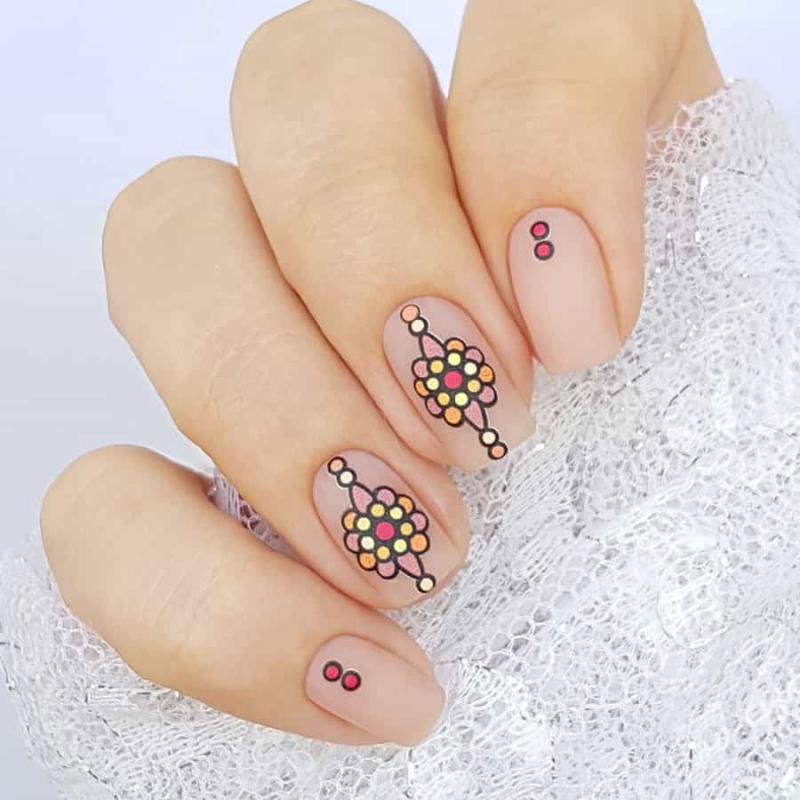
We have chosen a snowflake slider design for our manicure. (number 3D-32).
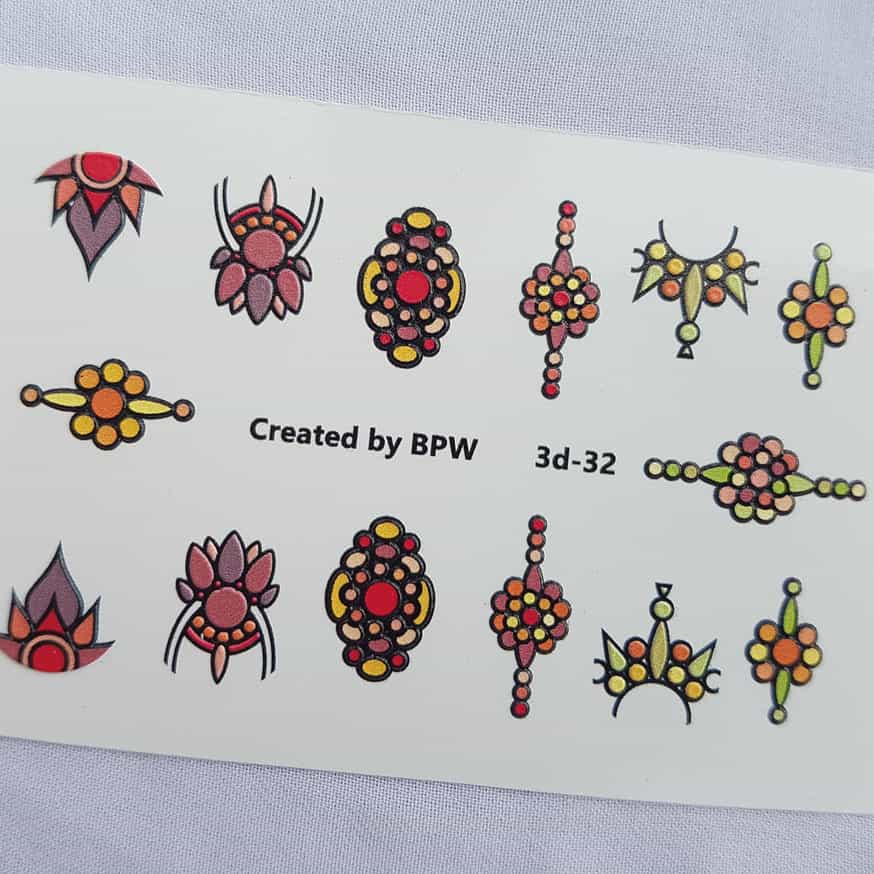
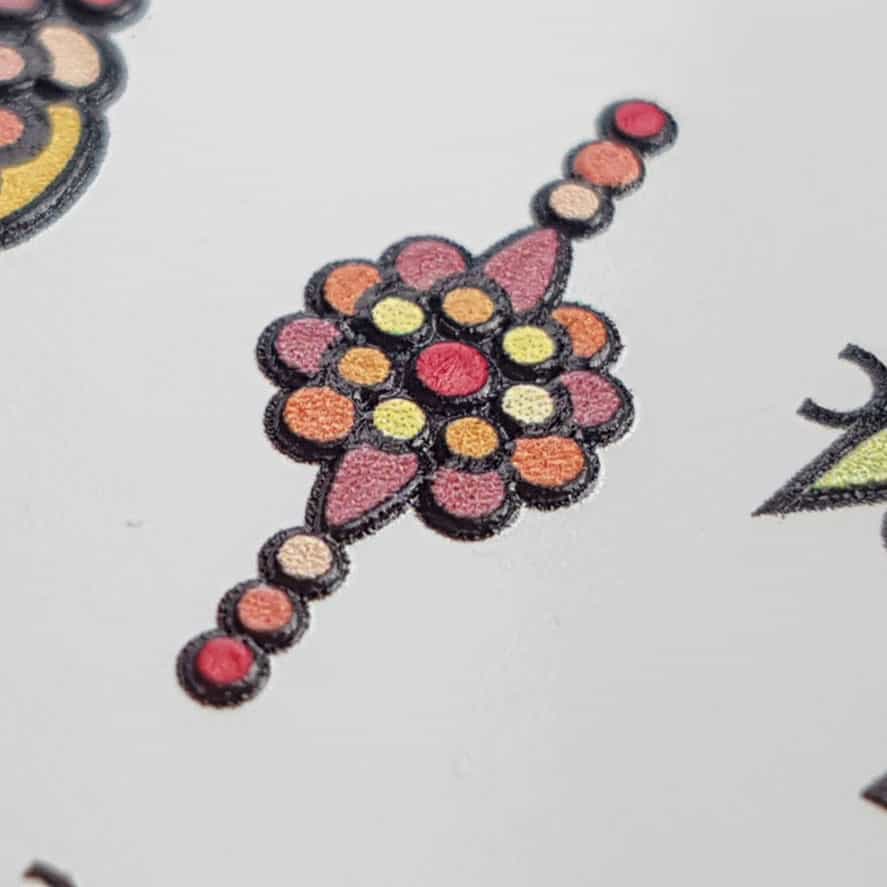
This design takes up the entire length of the nail, so you need to remove the surplus beforehand so that the entire area of the slider lies on the nail plate, while there is still a small margin in order to secure it well. Since in our case, the design was a bit too big, remove the circles, which later decorate the other nails.
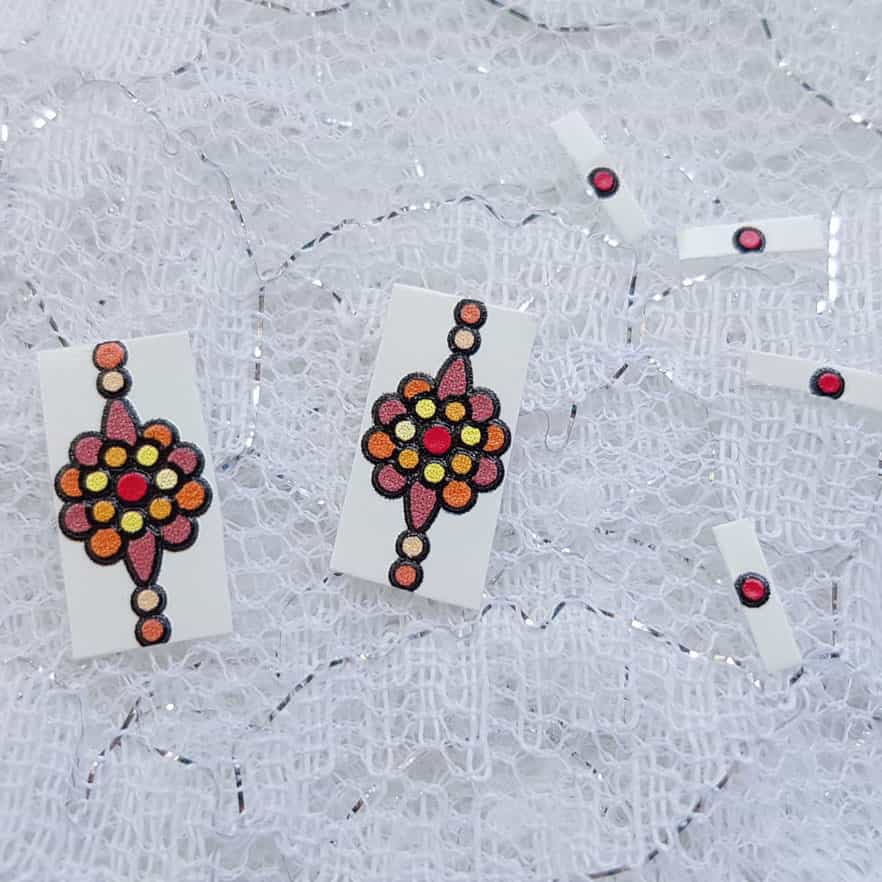
Looking ahead, it should be said that it is not worth it to cut out the slider so close (as we did) to the three-dimensional image. Let there be a small stock of film, surrounding the image, so it will be easier to fix the slider on the nail, and it will not return to the original flat view of the picture, but will lie confidently, snug against the nail plate.
We put a base on the nails with a thin layer, we used the base from Mollon PRO, since it is not as thick as the base from Kodi, it will be easier to apply a thin layer and the liquid base will better adhere to the film from the slider design. The design is lowered for a few seconds into the water, we soak the excess moisture through a napkin and put it on the nail
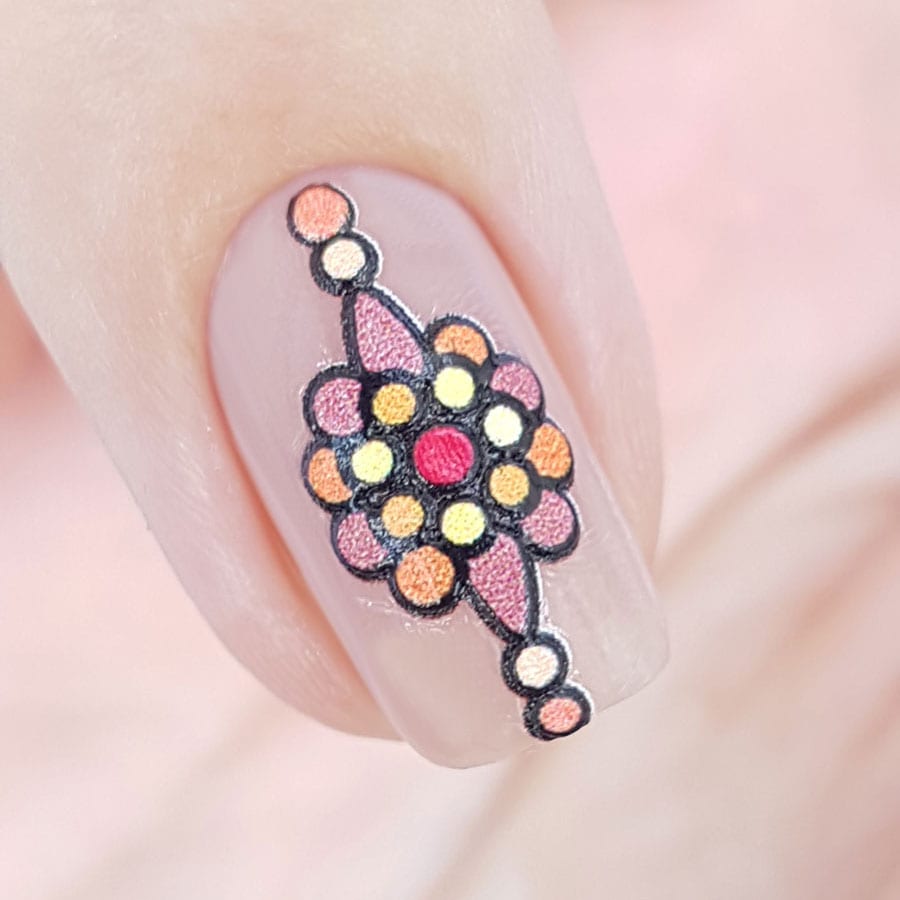
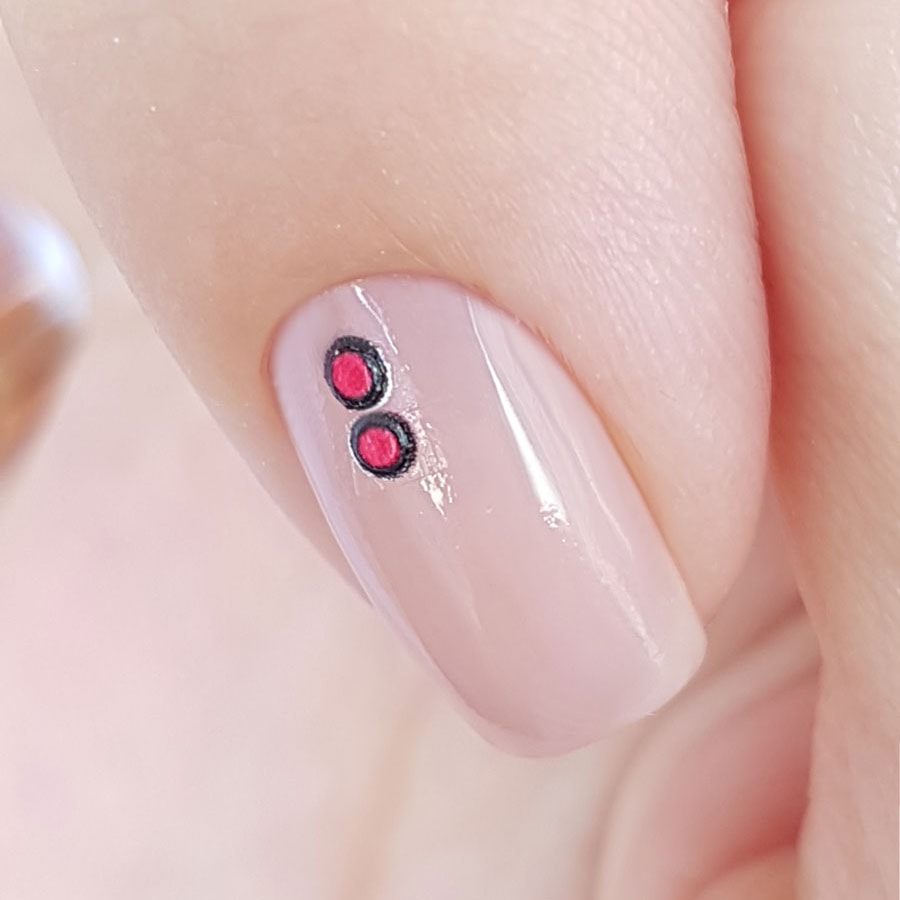
After the design was laid and carefully smoothed it on the nail plate, all the air bubbles were removed - dry.
We take the top for gel-polish, in our opinion, in this case, the top Mollon PRO, famous for its wonderful qualities in working with slider-design, is more than ever perfect. Put a thin layer, dry. Be sure that the cuticle, the side rollers and the butt of the nail have a small indentation from the design and there is an opportunity to carefully seal it. Strongly brush with a brush around the picture is not worth it - smooth out the relief, but we do not need it. Dry.
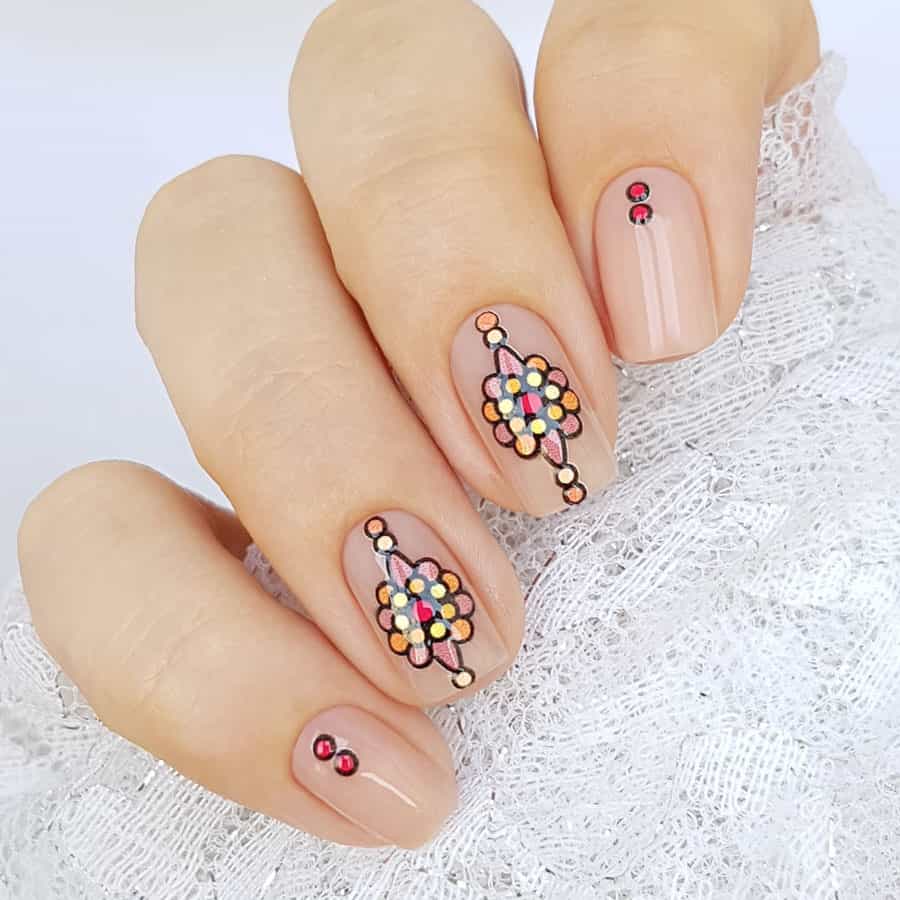
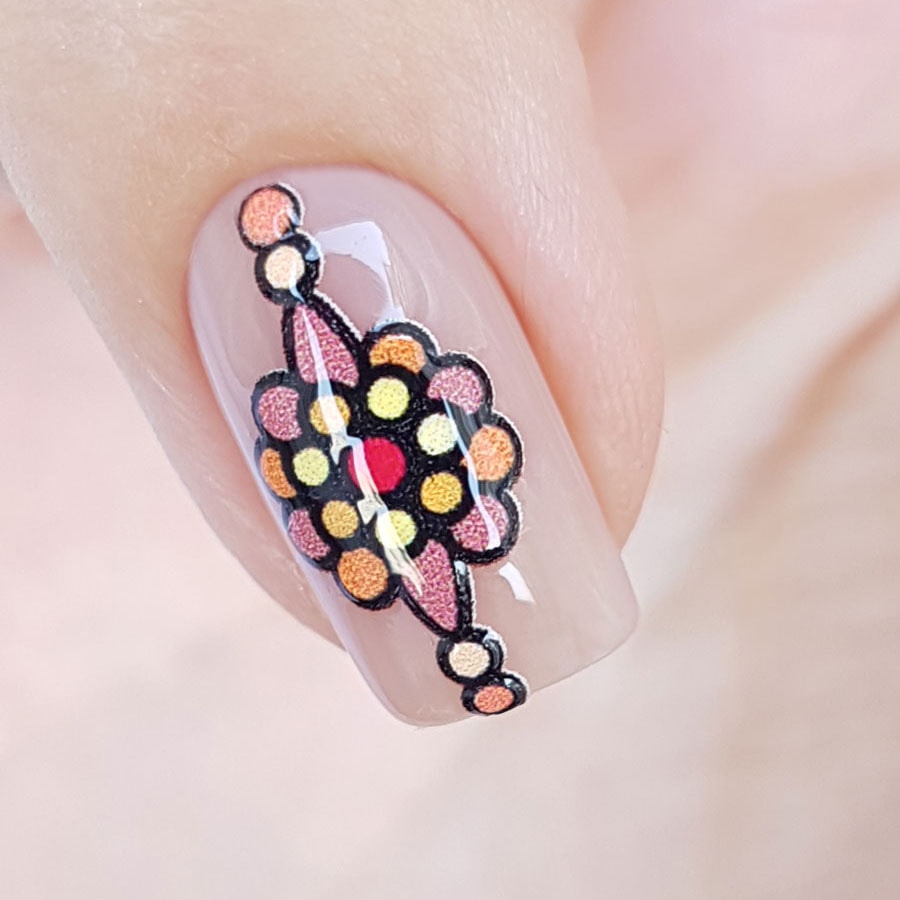
Also want to show you how this design will look without gloss. To do this, we apply a matte top from Lianail.
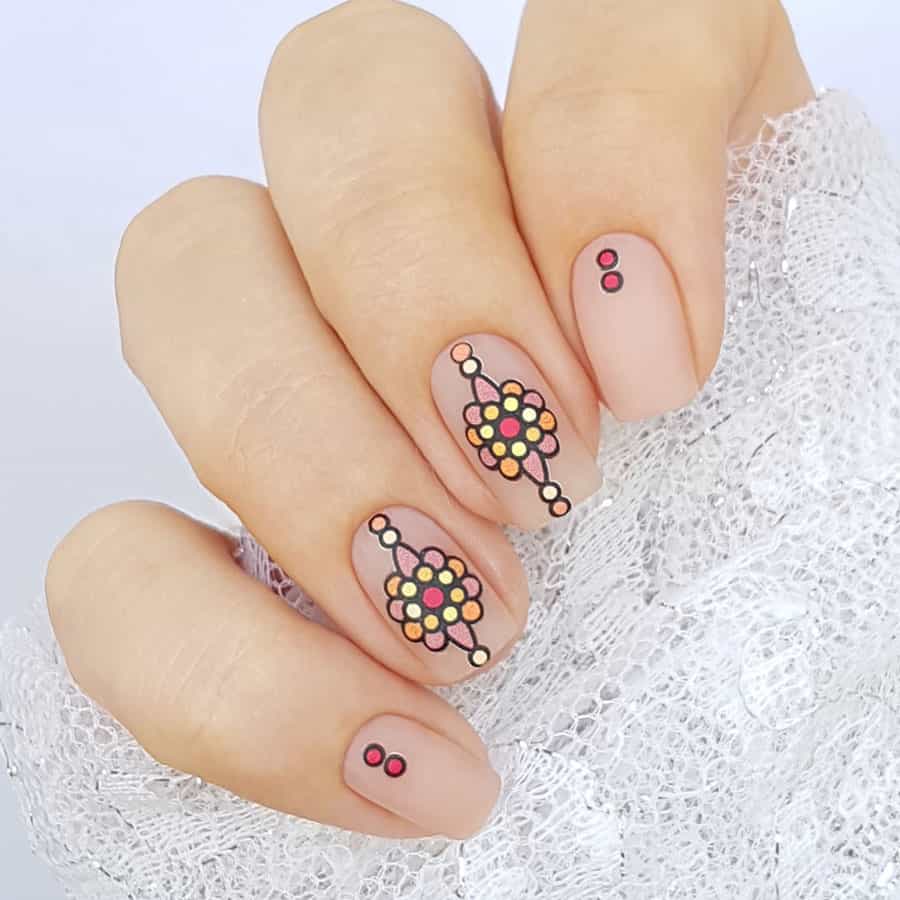
And then we decided to add extra volume with a thin brush and gel-gel (I used gel-jelly from BPW.Style).
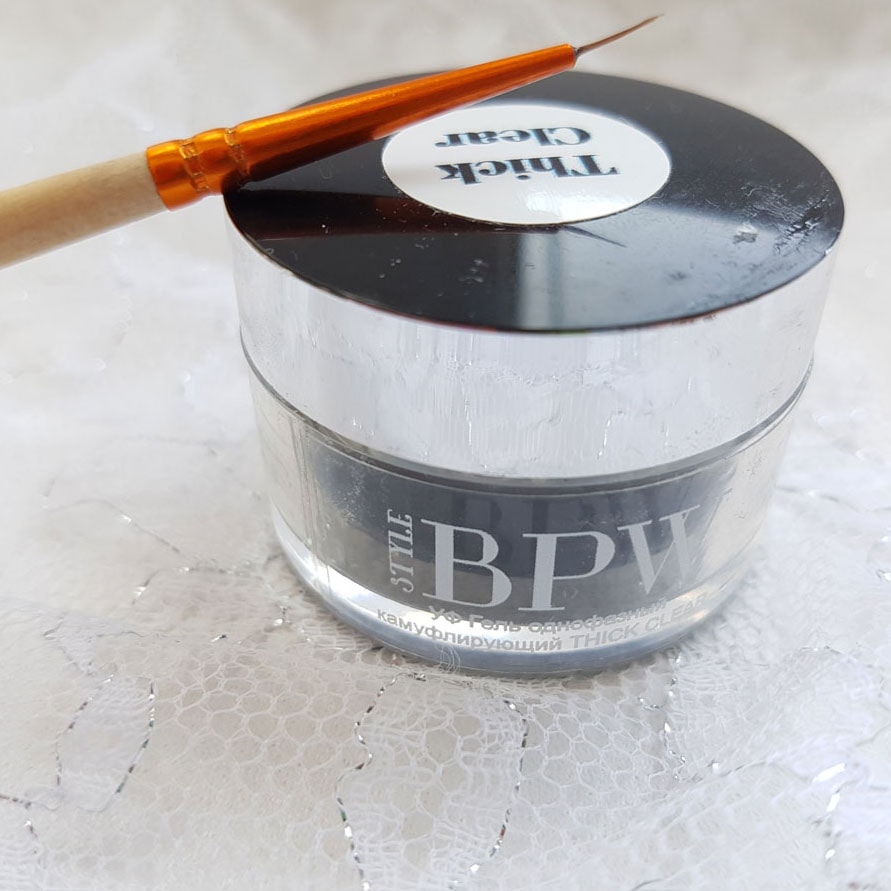
Taking a small drop of gel on the brush, gently put the point in accordance with the picture, adding even more volume. Having made several points (not neighboring, otherwise they can become one big), dry a few seconds in the lamp so that the material does not spread. And so on until all the points are set.
As a result, we got an alternative to SweetBloom, although the volume is added here in a transparent, not colored gel, and due to the fact that the design is not painted by hand, the points turned out to be sharper and neater.
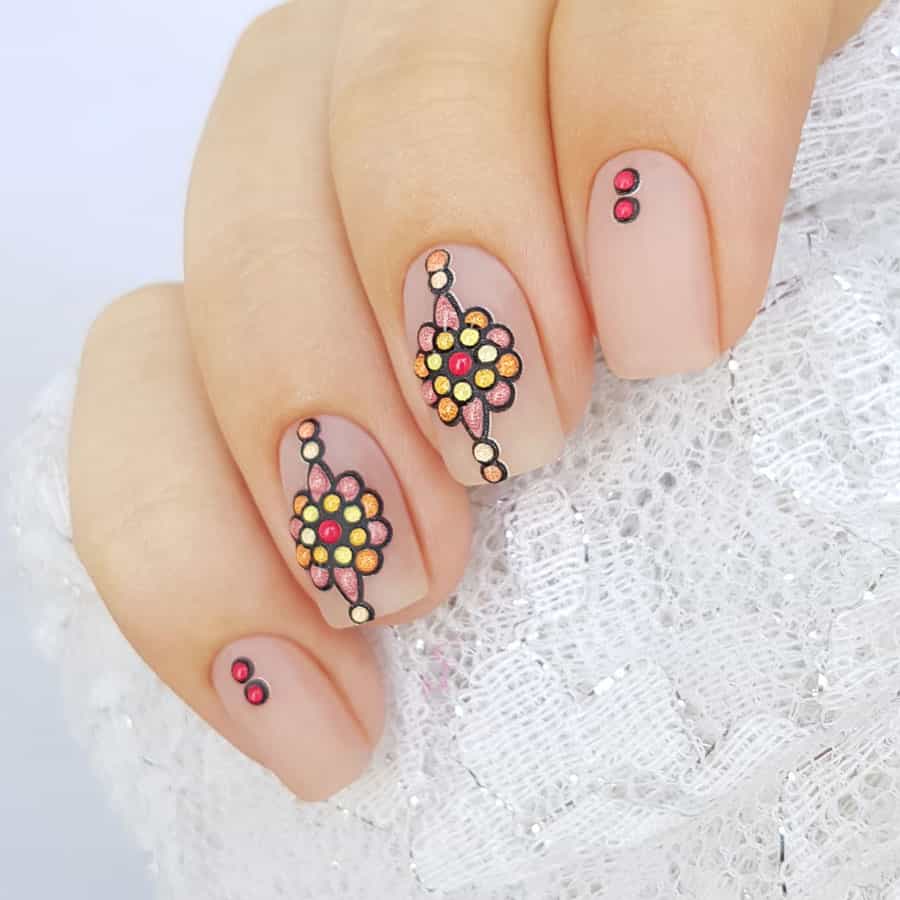
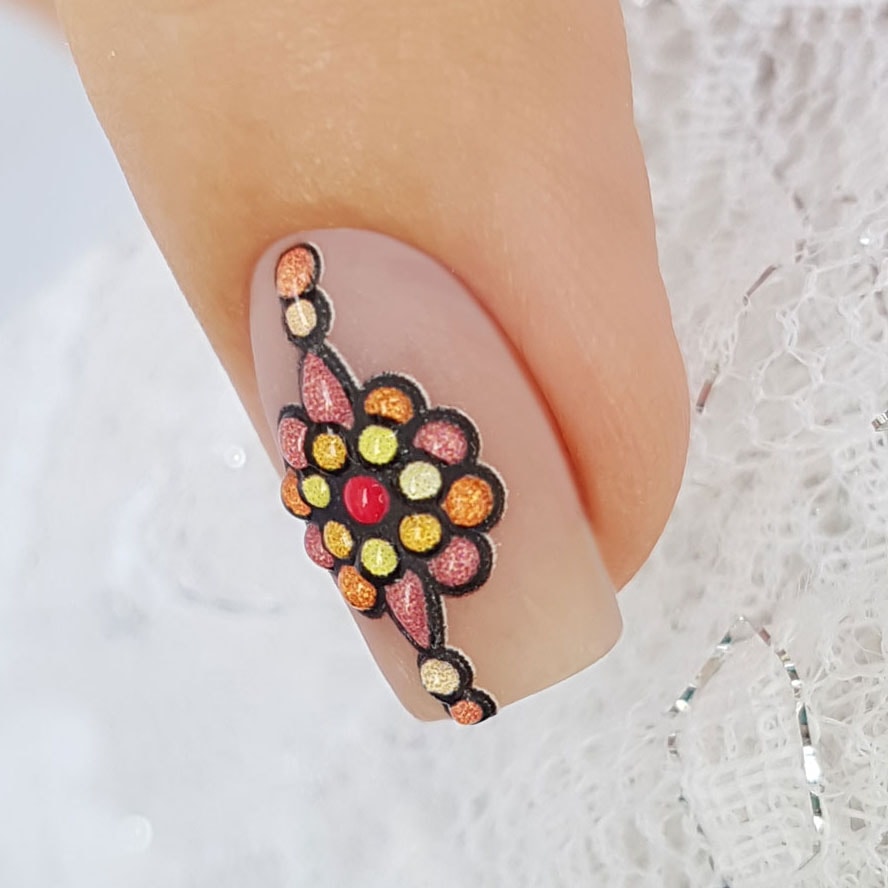
It should be noted that in the sock 3D the slider does not deliver any problems, even at the tips of the nails, the main thing is to make sure several times that the drawing is well sealed.
Follow us on Instagram and Facebook so as not to miss the latest news.
- Комментарии

